Activating Participants
Upon registering for an event and creating a profile on the b2match platform, participants must be validated before becoming visible on the event page. There are two available methods for validating participants: automatic and manual.
- Participants are automatically activated
Participants will be visible to other registered participants and they are able to send and receive meeting requests. - Manually activate participants
Participants will be activated by organizers. They will only be visible for other participants and they will be able to send and receive meeting requests, once they have been manually activated by an organizer.
An activated participant is a participant who is visible to other participants and is able to send and receive meeting requests.
You can activate as many participants as stated in participants package in your order. When the number of activated participants is close to the one in the order, a warning message will display. Feel free to reach out to support team in that case as only the b2match team members can upgrade the participants limit.
How can I set the validation option?
First, click on Configuration on the left sidebar of the Organizer's Tool.
Locate the Participant section and click on Registration Settings. Scroll down until you see the Participants Activation section.

Within this section, you will find the two validation options: automatic and manual.
Click on the validation option you desire and then click on Save in the bottom right corner.
How to manually activate a participant?
Go to Participants in the organizer's tool.
The Activated column is shown by default in the participant's list. The green icon means that the participant is activated. The empty square icon means that the box hasn't been ticked and the participant is not activated.


- If you decide that a participant fulfills your criteria, you can activate them by clicking on the empty square under the Activated column. When ticked, the square will turn green.

- You can also activate the participants by going to the participant' profile panel, which opens when you click on a participant's row.

You can see the history of the activation in the Activities tab, in the participant' profile panel.
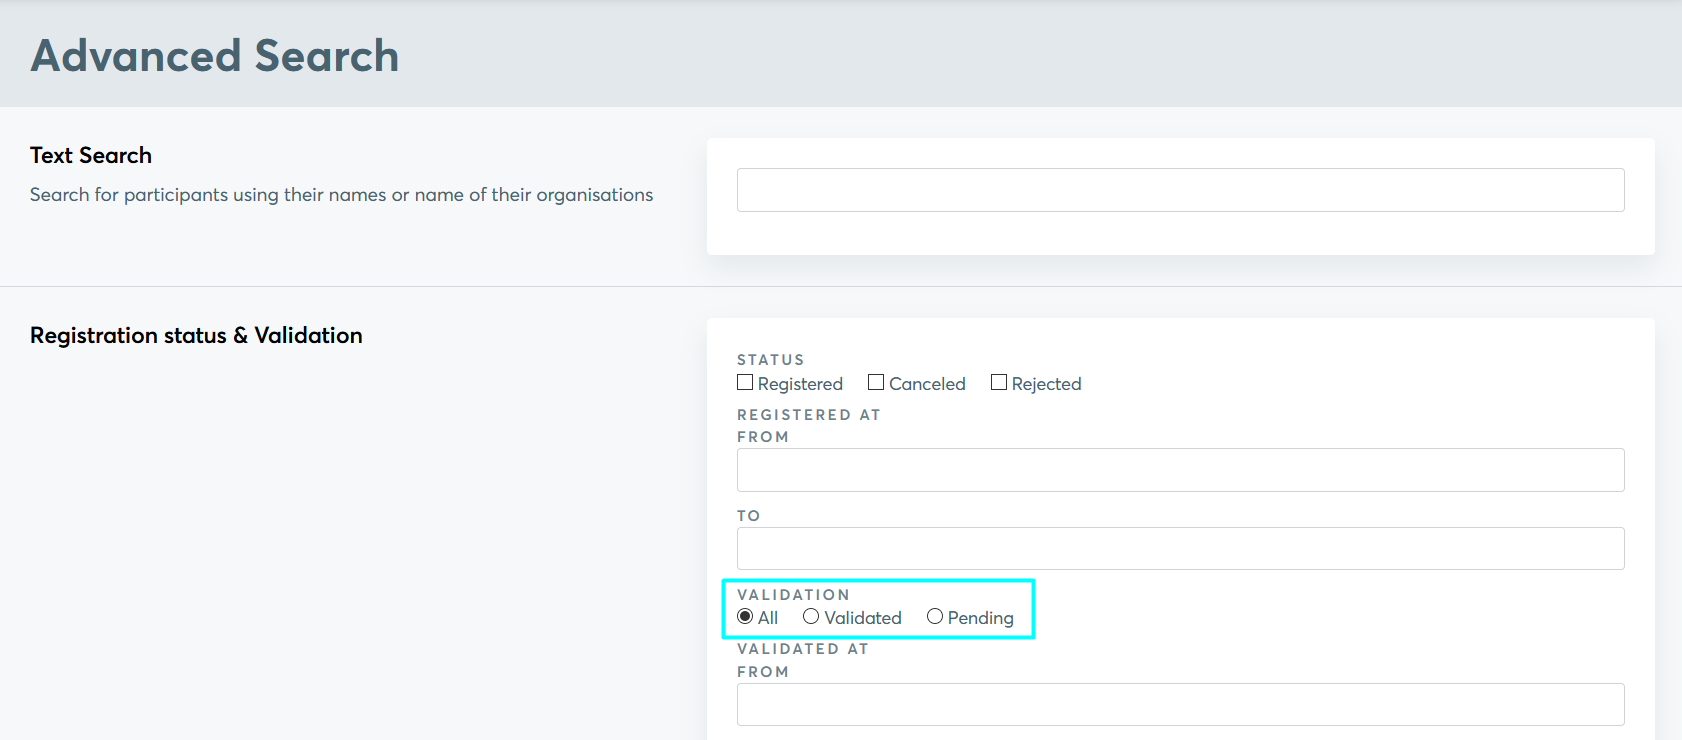
Filtering non-activated participants
You can use the Advanced Search in the Participants' list in Admin in order to filter the activated or non-activated participants.
Profile activation as seen by participants
Once the participant finishes registration, the message Your profile is waiting to be activated will be displayed in their dashboard.

They will be automatically notified via email once their profile have been activated.
Once a participant is successfully activated, they will receive an email notification informing them that their profile has been activated. You can customize the Profile activated notification sent to your participants. Read more about this topic here.

