Website Editor - Adding and Editing Pages on the Website
The home page is the first point of contact for potential participants and influences their decision to register. It provides vital information and showcases your event. Therefore, designing this page to align with your objectives is crucial.
Adding a new page
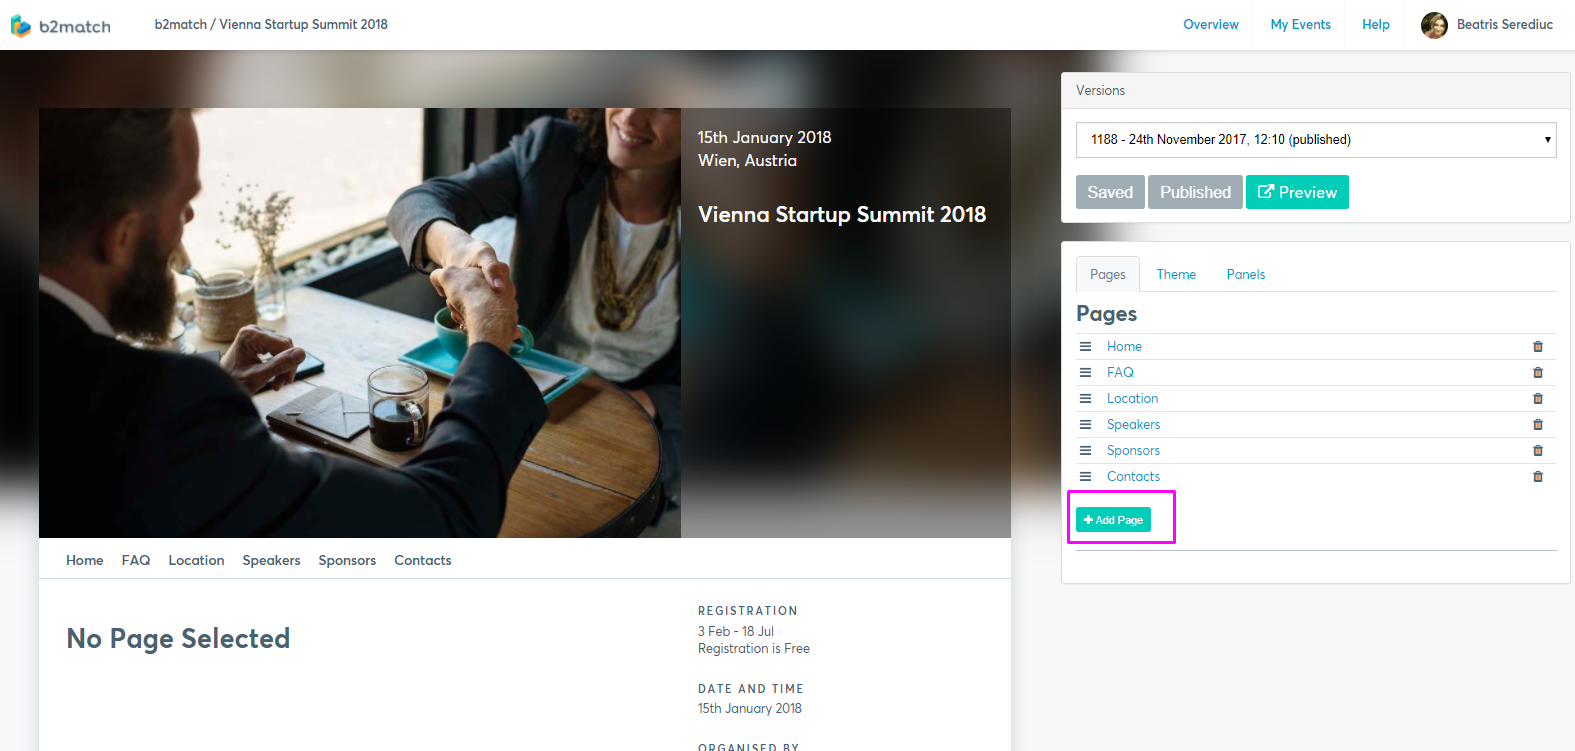
- Click on Add Page on the right side of the editor
- Add a name for your page
- Click on Save, above the Pages editor. The page will be now added as a new tab on the menu.
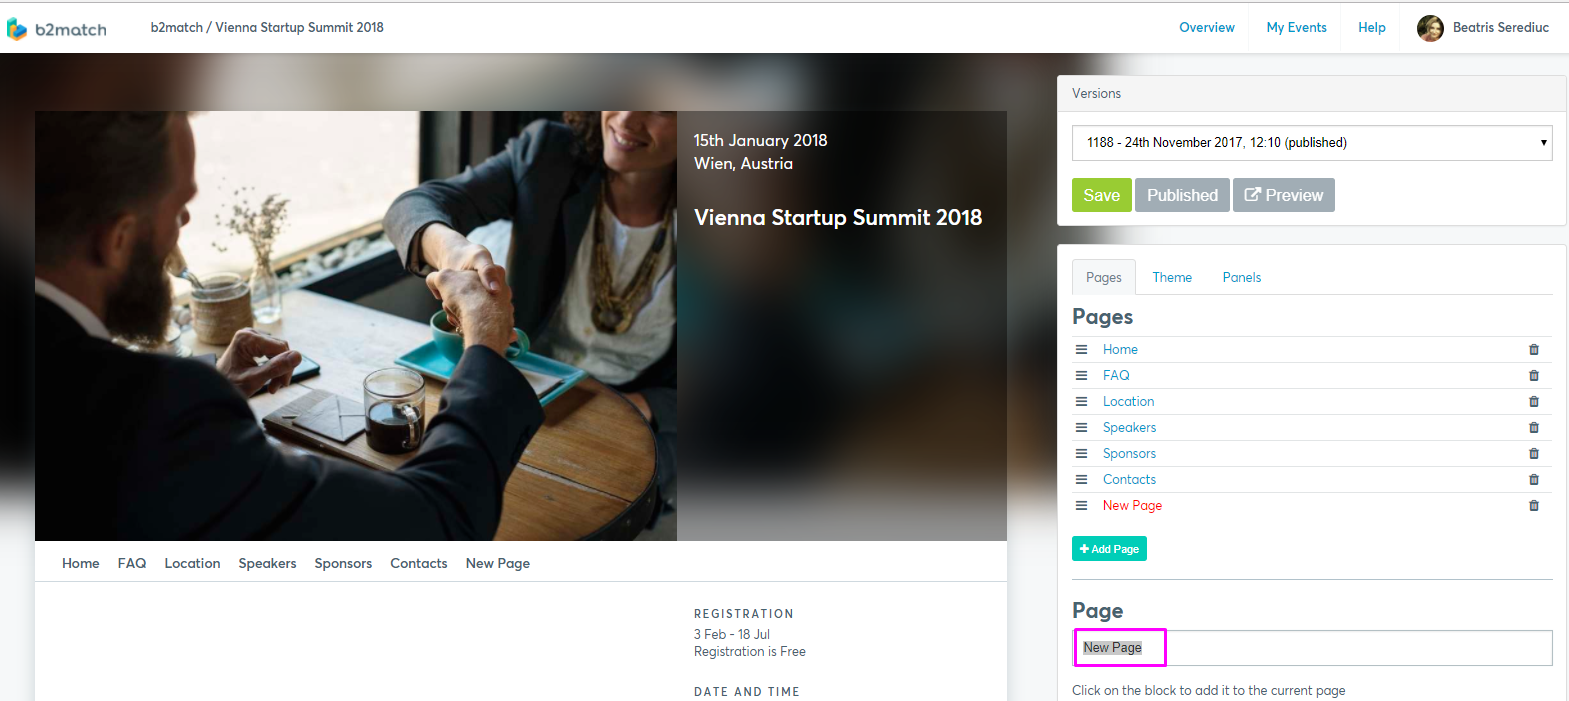
- You can drag and drop your page in order to place it on the Pages list.
There are the following visibility options for the pages:
- Don't show in menu - hides the page from the menu in case you don't want the participants to access it without a direct link
- Visible only for registered and validated participants - public visitors and participants who are not logged in will not be able to see this page.
Adding content to your page
- Select the page to which you want to add content
- Select the type of content to be added:
Add Text Block - website section that combines written content and visual elements to enhance user engagement and communication
Add Picture Group - section used on a website to display multiple images together in a cohesive layout
Add Contacts - section which provides participants with the contact information in order to connect with the event organizers. Learn more about adding contacts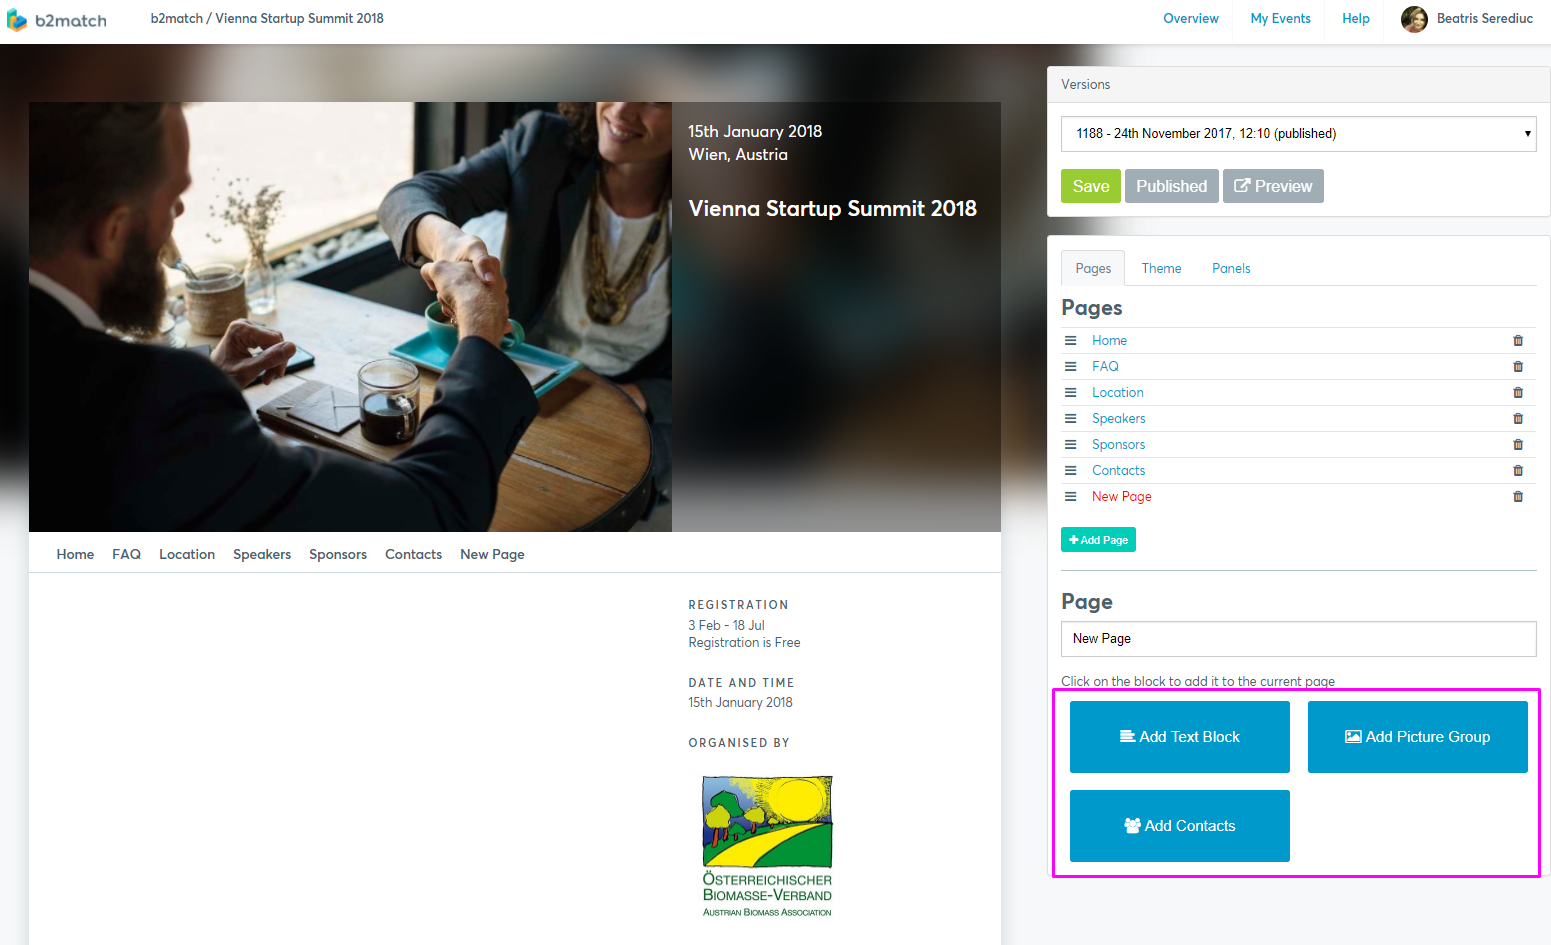
Add text block
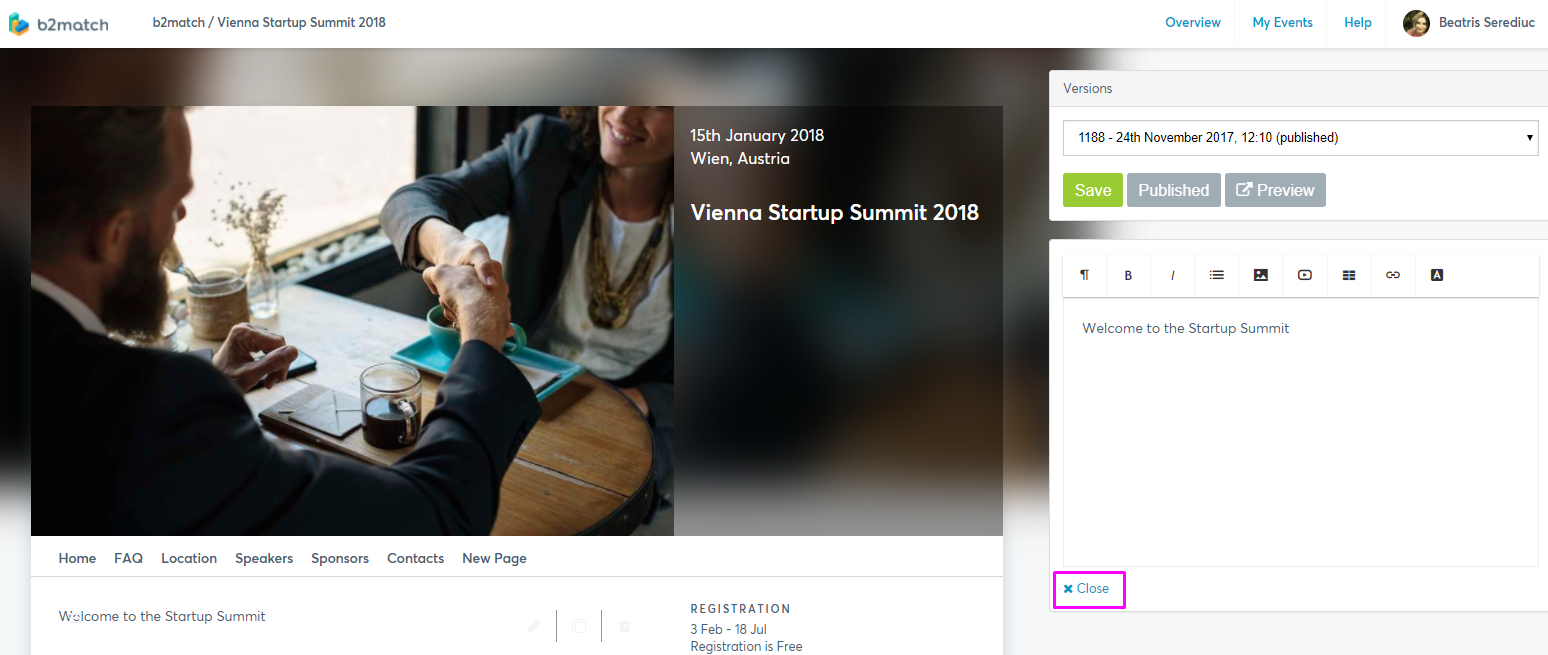
If you chose text block, edit your text in the text editor on the right side of the page. You can insert documents, images or videos while the text can be further customized with different colors, bold or italic formatting, adding links, and using bullet or numbered lists. 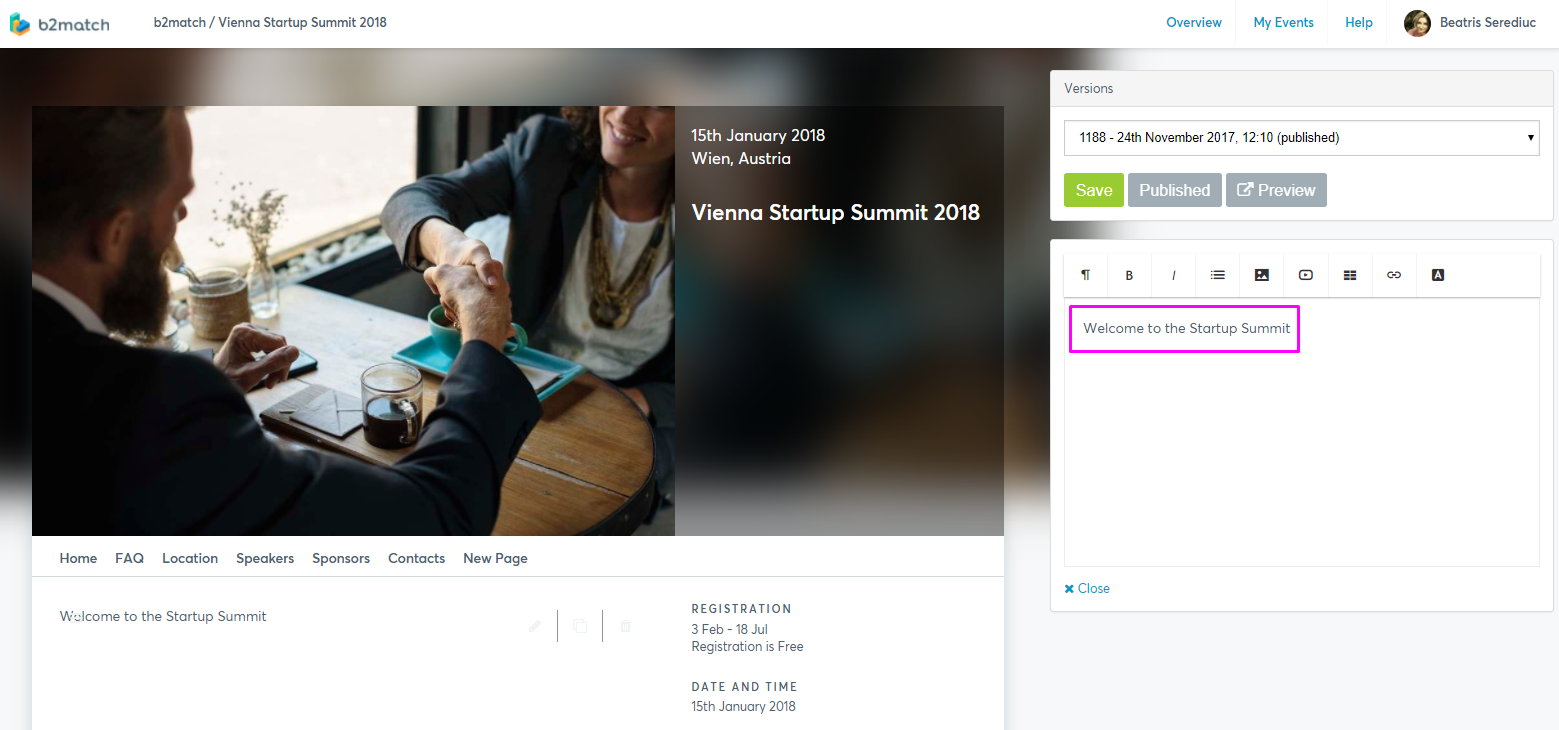
Tip: When uploading an image for a text block, use a 722px width for the best results. The system will automatically adjust it for different screen sizes.
If you don’t want the image to be 100% wide, add transparent or colored space on the left and right sides to control its appearance.
- Close the text editor in order to proceed with other changes.
Adding picture group
If you chose picture group, you can group images or logotypes in two, three or four columns.

The inserted images can be linked to an external website, by inserting the URL in the Link to... field after clicking on Edit.

Editing HTML code in the Text block
The textual and visual content can be edited by altering the HTML code.
- Switch to HTML mode by clocking on the <> icon
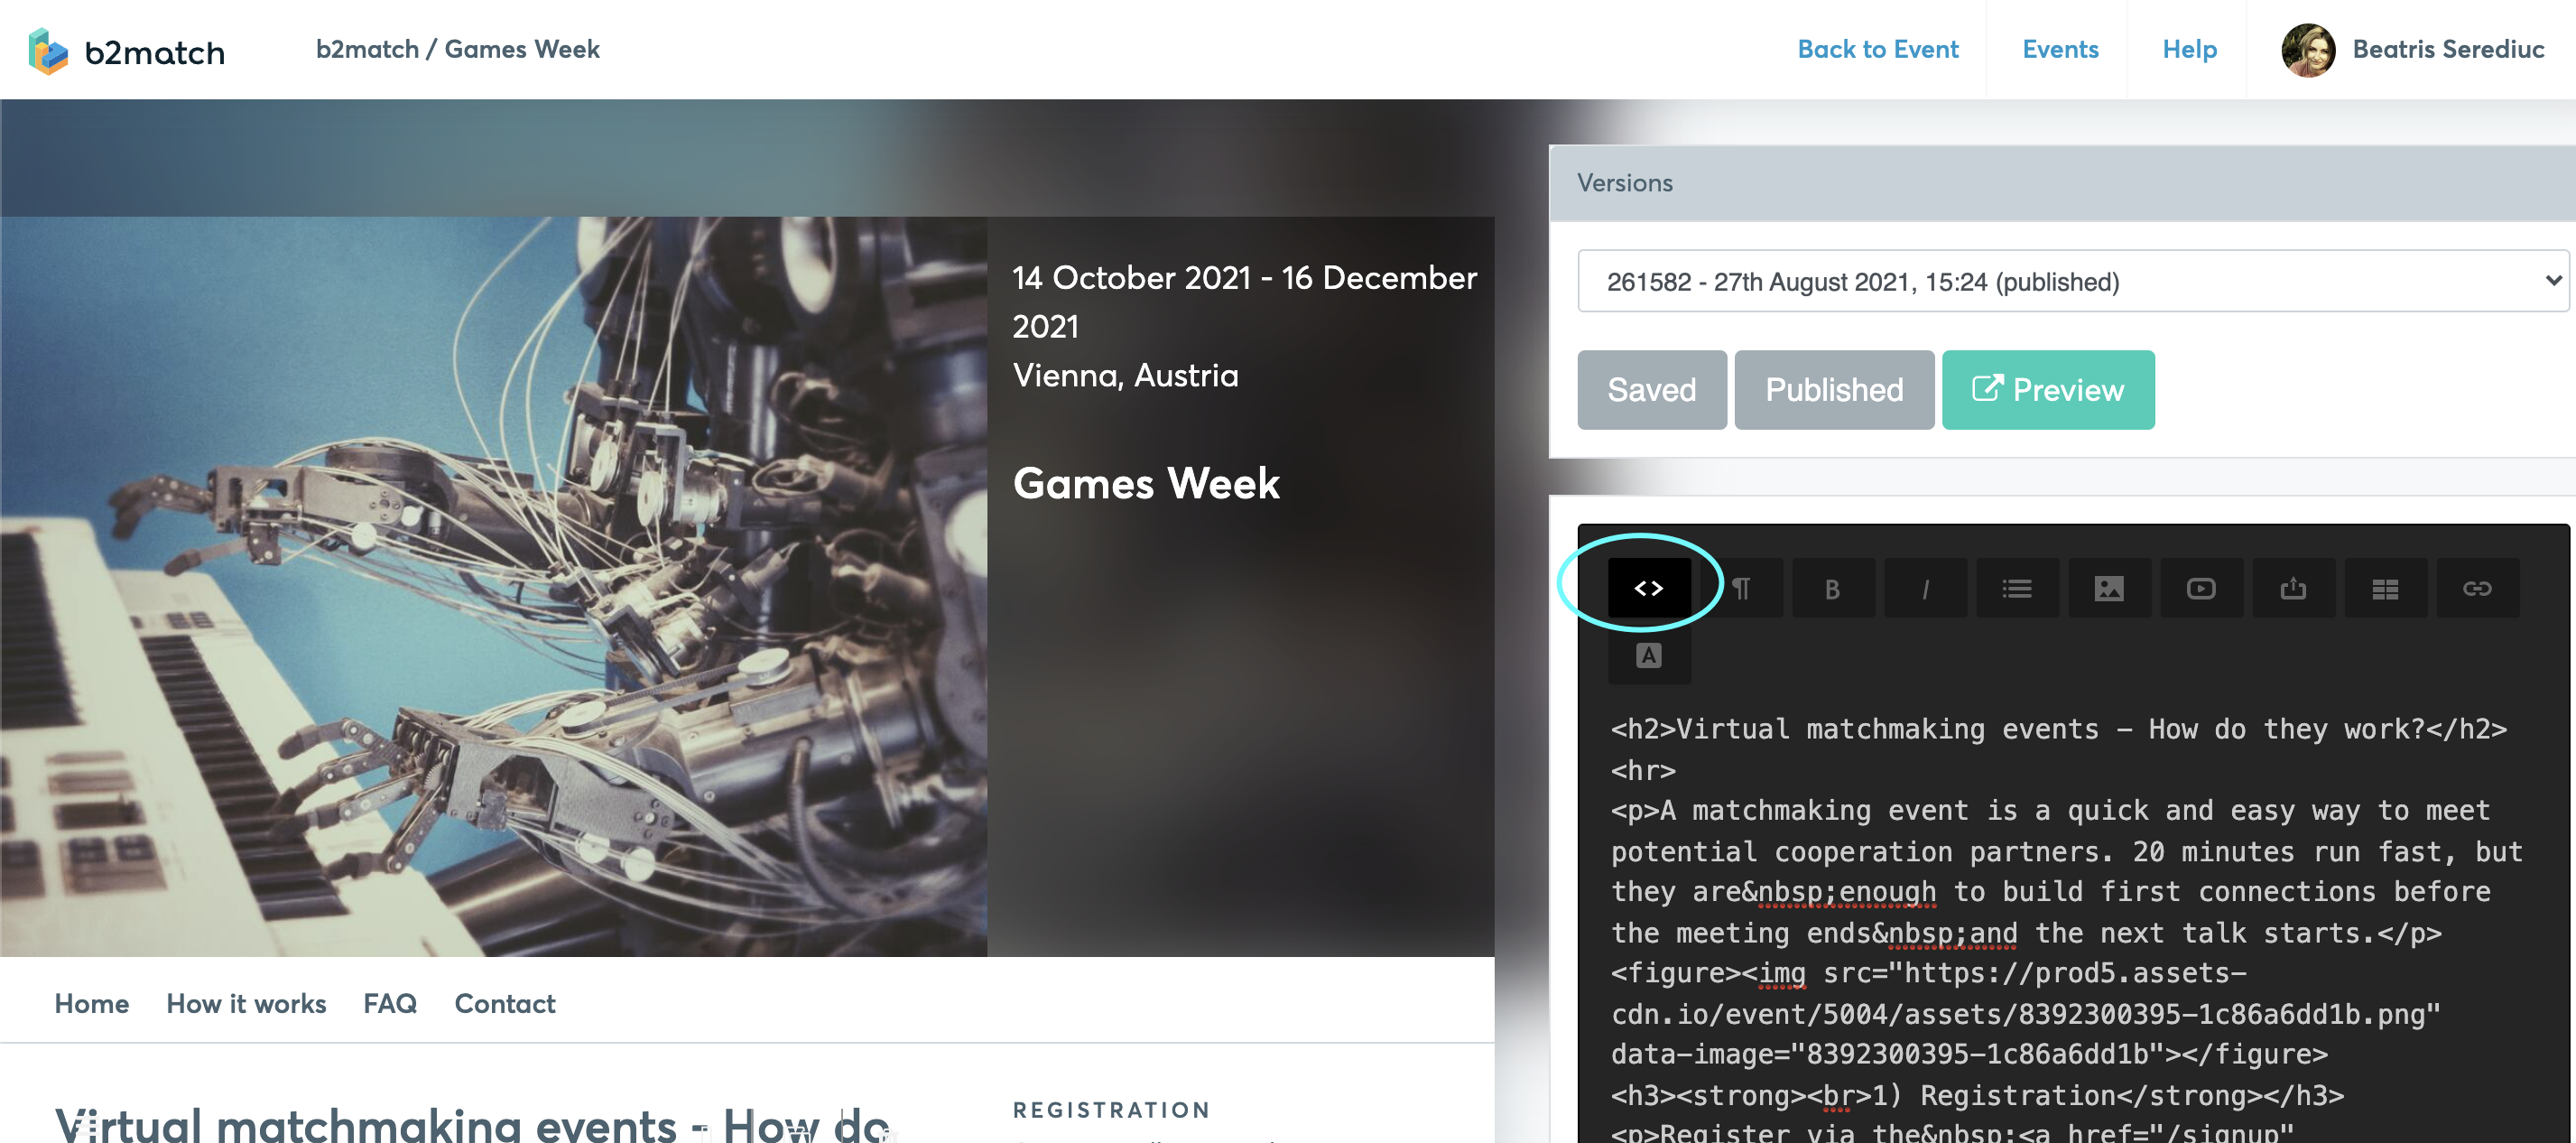
- Make the desired changes
- Switch the window back to text mode via the <> icon and save.

If you want the website to be constantly updated with the changes, click Save and Publish right after making the changes. The Preview button will give you a preview on how the page looks like. Learn about saving and publishing changes in the Website Editor.