- Help Center
- V6 Organizer Guide
- Website Editor
-
V7 Organizer Guide
- Getting Started With b2match: Your Organizer Account
- Getting Started With b2match: Managing Organizers
- Getting Started With b2match: Workspace Management
- Getting Started With b2match: Event Management
- Home Page Editor
- Event Settings
- Event Components
- Branding
- Registration Settings
- Custom Questions
- Participant Types
- Ticketing
- Agenda: Sessions
- Agenda: Session Locations
- Agenda: Tracks
- Agenda: Topics
- Agenda: Live Streams
- Participants: Managing participants
- Participants: Participant Types
- Participants: Speakers
- Organizations: Managing Organizations
- Organizations: Organization Types
- Organizations: Areas of Activity
- Organizations: Sponsors
- Meetings
- Meetings: Settings
- Meetings: Meeting Blocks
- Meetings: Meeting Locations
- Marketplace
- Emails & Notifications: Outbox Emails
- Emails & Notifications: Automated Email Notifications
- Emails & Notifications: Announcements
- Advanced Search
- Data Import & Export
- In-Person Participant Management: Badges
- In-Person Participant Management: Check-In App
- In-Person Participant Management: On-Site Support
- Mobile Event App
- Community Management Platform
-
V7 Participant Guide
-
V6 Organizer Guide
- Organizer Account
- Managing Organizers
- Workspace Management
- Event Setup
- Configuration
- Website Editor
- Badges
- Registration Settings
- Custom Questions
- Agenda
- Meetings & Matchmaking
- Participants
- Messages & Notifications
- Feedback
- Ticketing & Payment Processing
- Analytics
- Importing and Exporting Data
- Mobile App
- Virtual Events
- Hybrid Events
- Organizations
- Exhibitors
- Marketplace
-
V6 Participant Guide
Website Editor - Adding Contacts
Adding individual organizers
- Create a new page or choose an already existing page to place your contacts
- Click on Add Contacts on the right side of the editor
- The list of Organizers will be displayed. This is the list which you have in the organizer's tool, the Organizers tab, where the administrators of the website are.
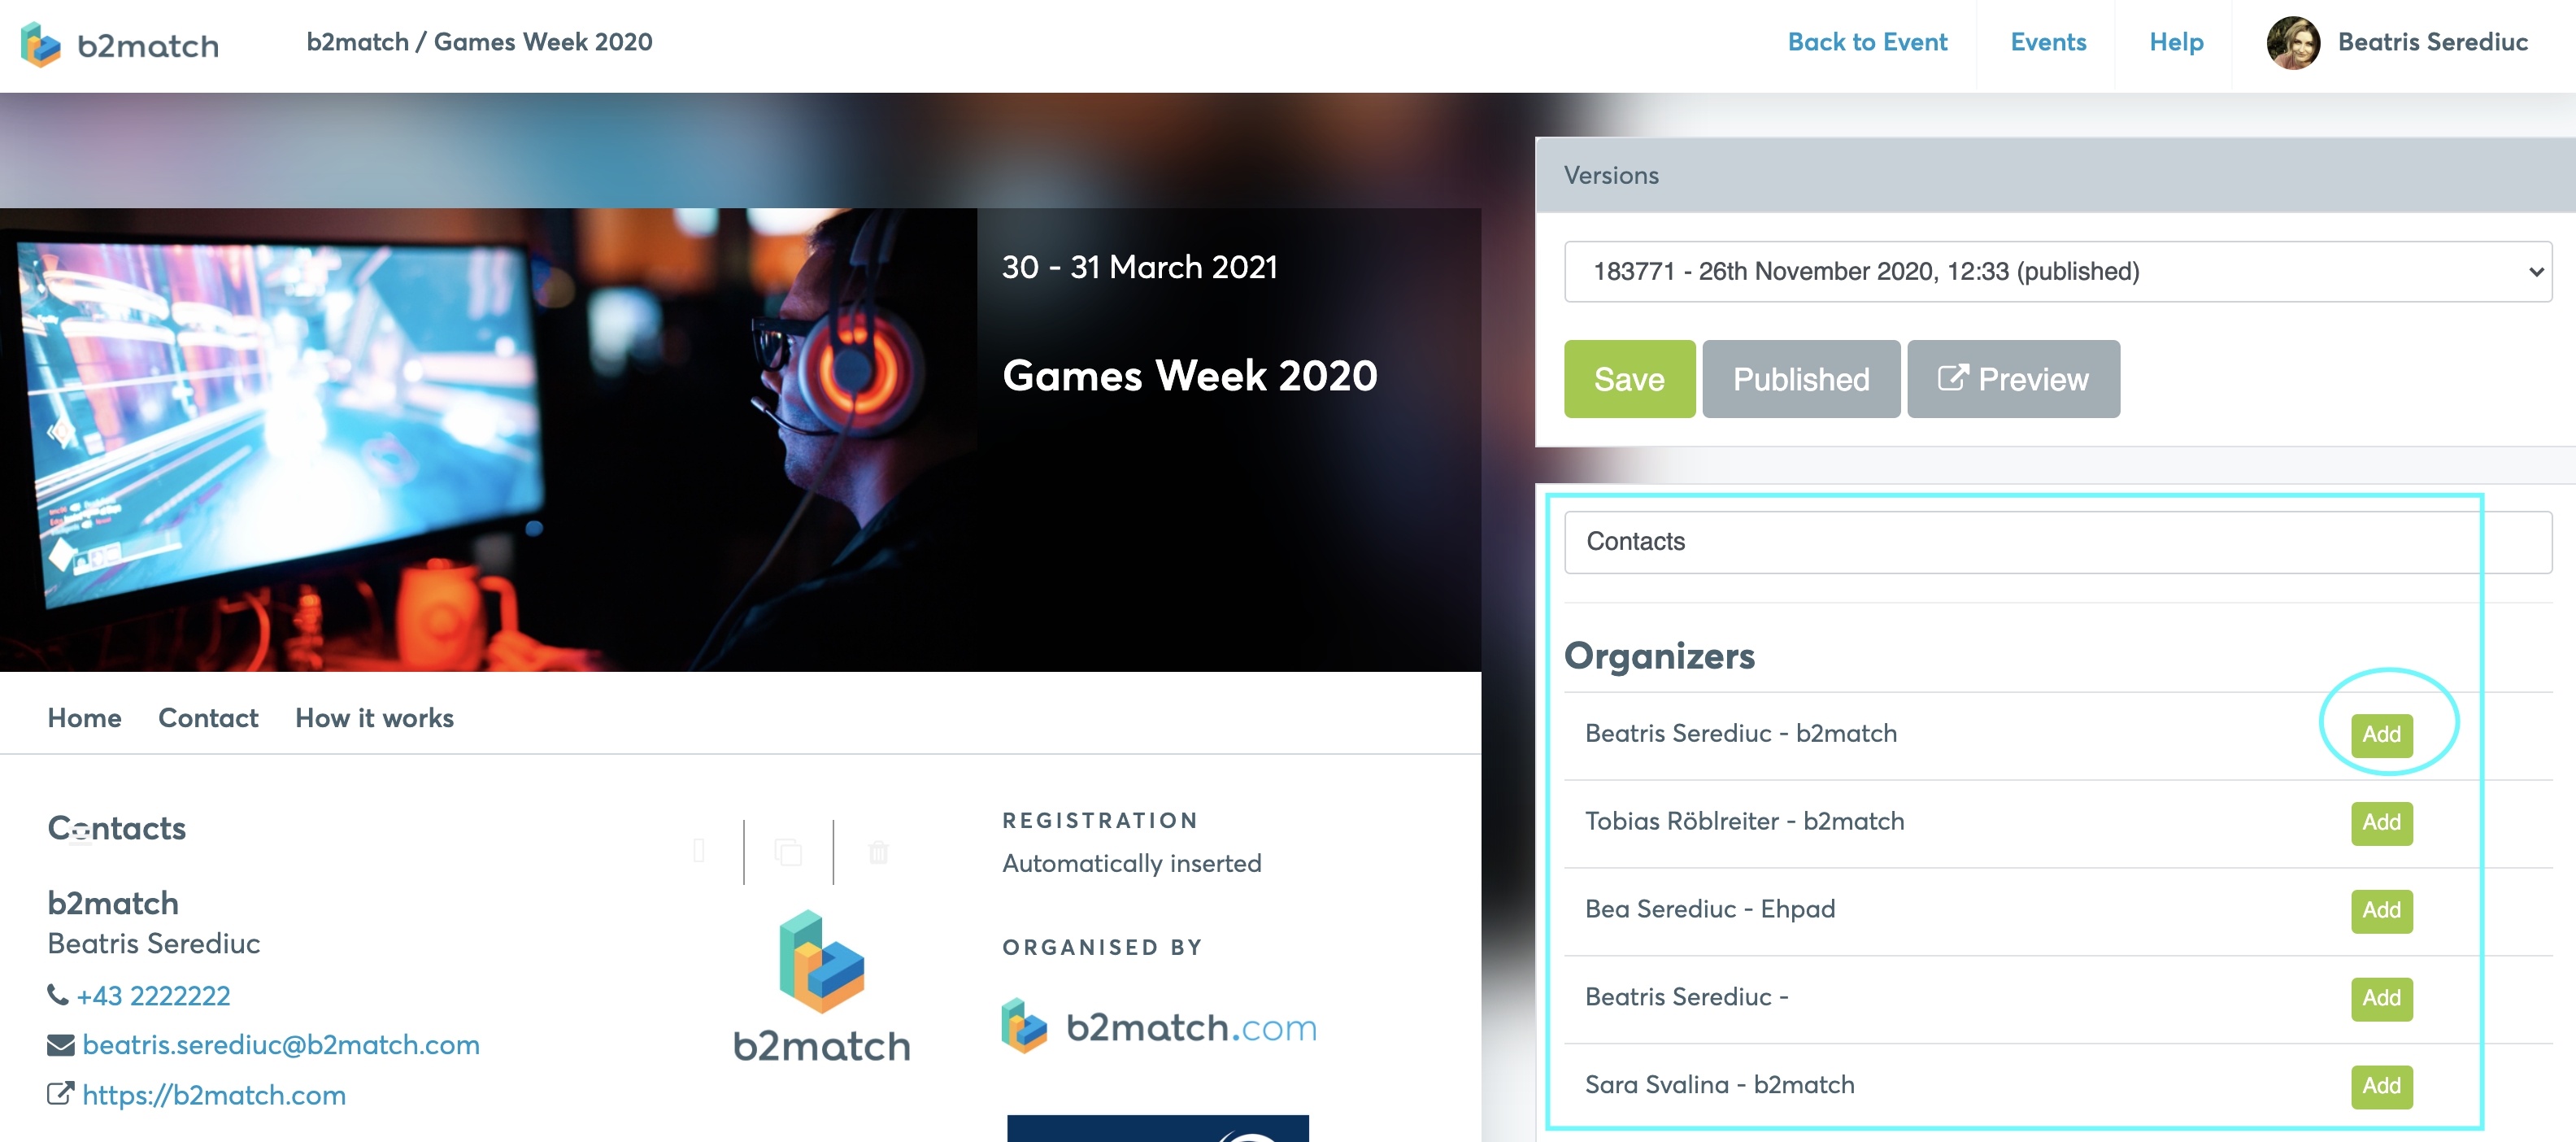
- Click on Add. The contact should be now visible on the left side of the editor
- Click on Save and Publish
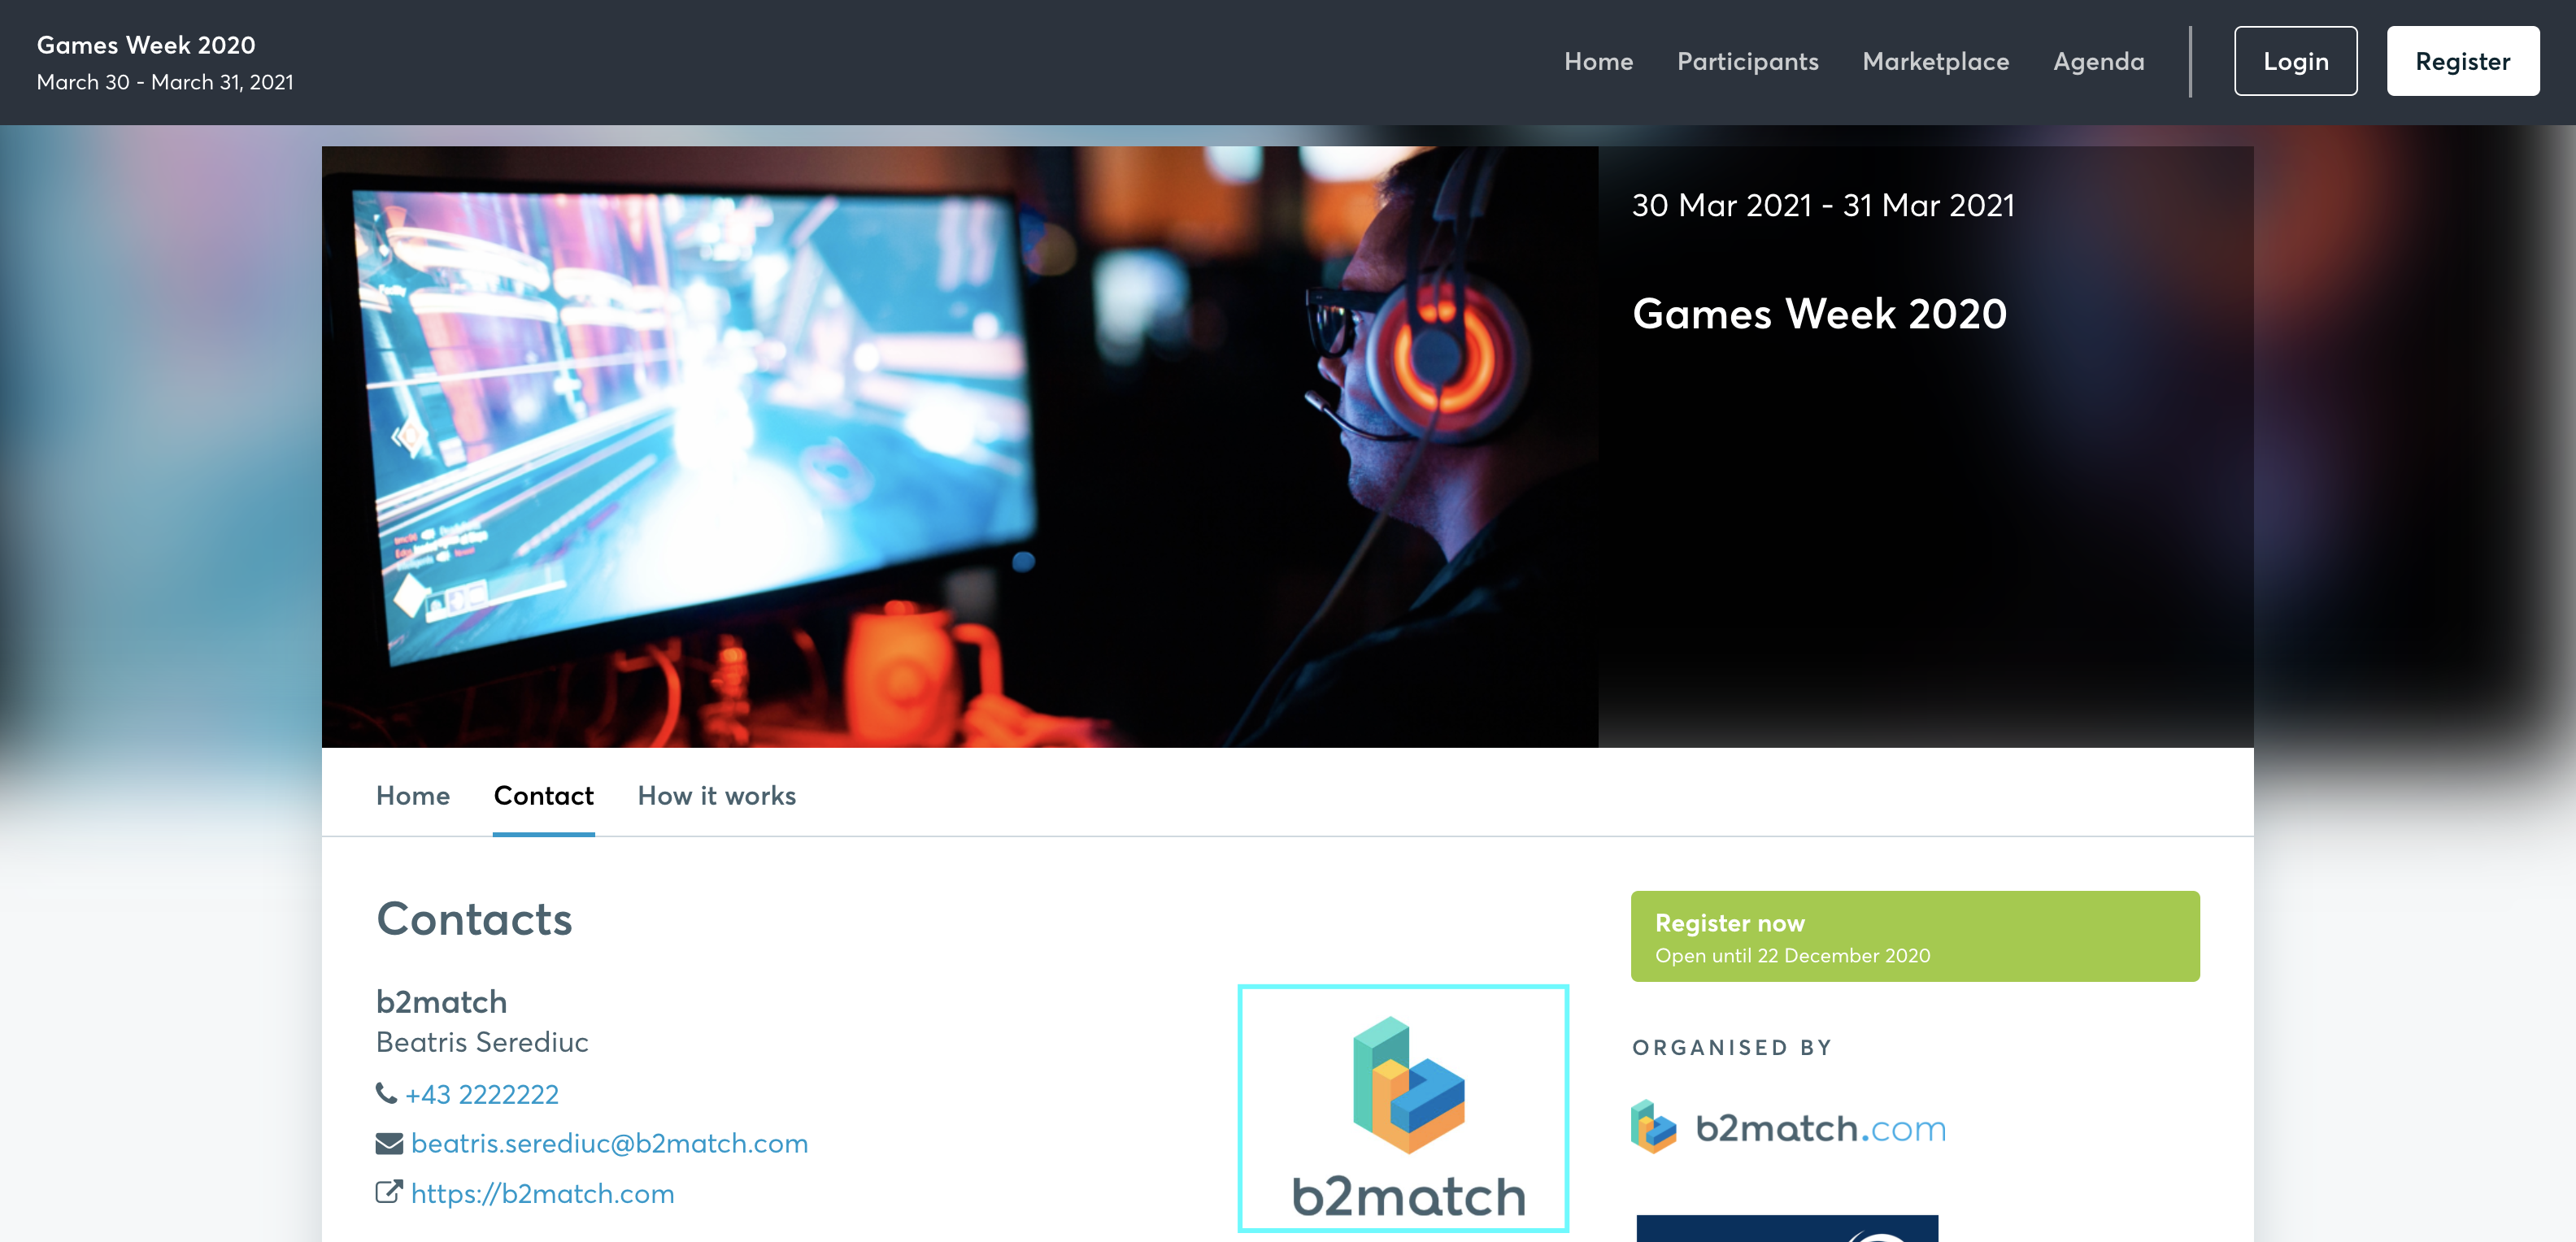
If you want to add or change the logo next to your details, you need to access your administrator account and go to Organization - Logo. Once uploaded, the logo will be displayed next to the organizer's name.
Adding organizers by groups
If you want to group your organizers by specific criteria (such as country) on your Contacts page, follow the steps below.
- Click on Add contacts to add a new Contacts section
- Edit the section's name by clicking on the Edit icon
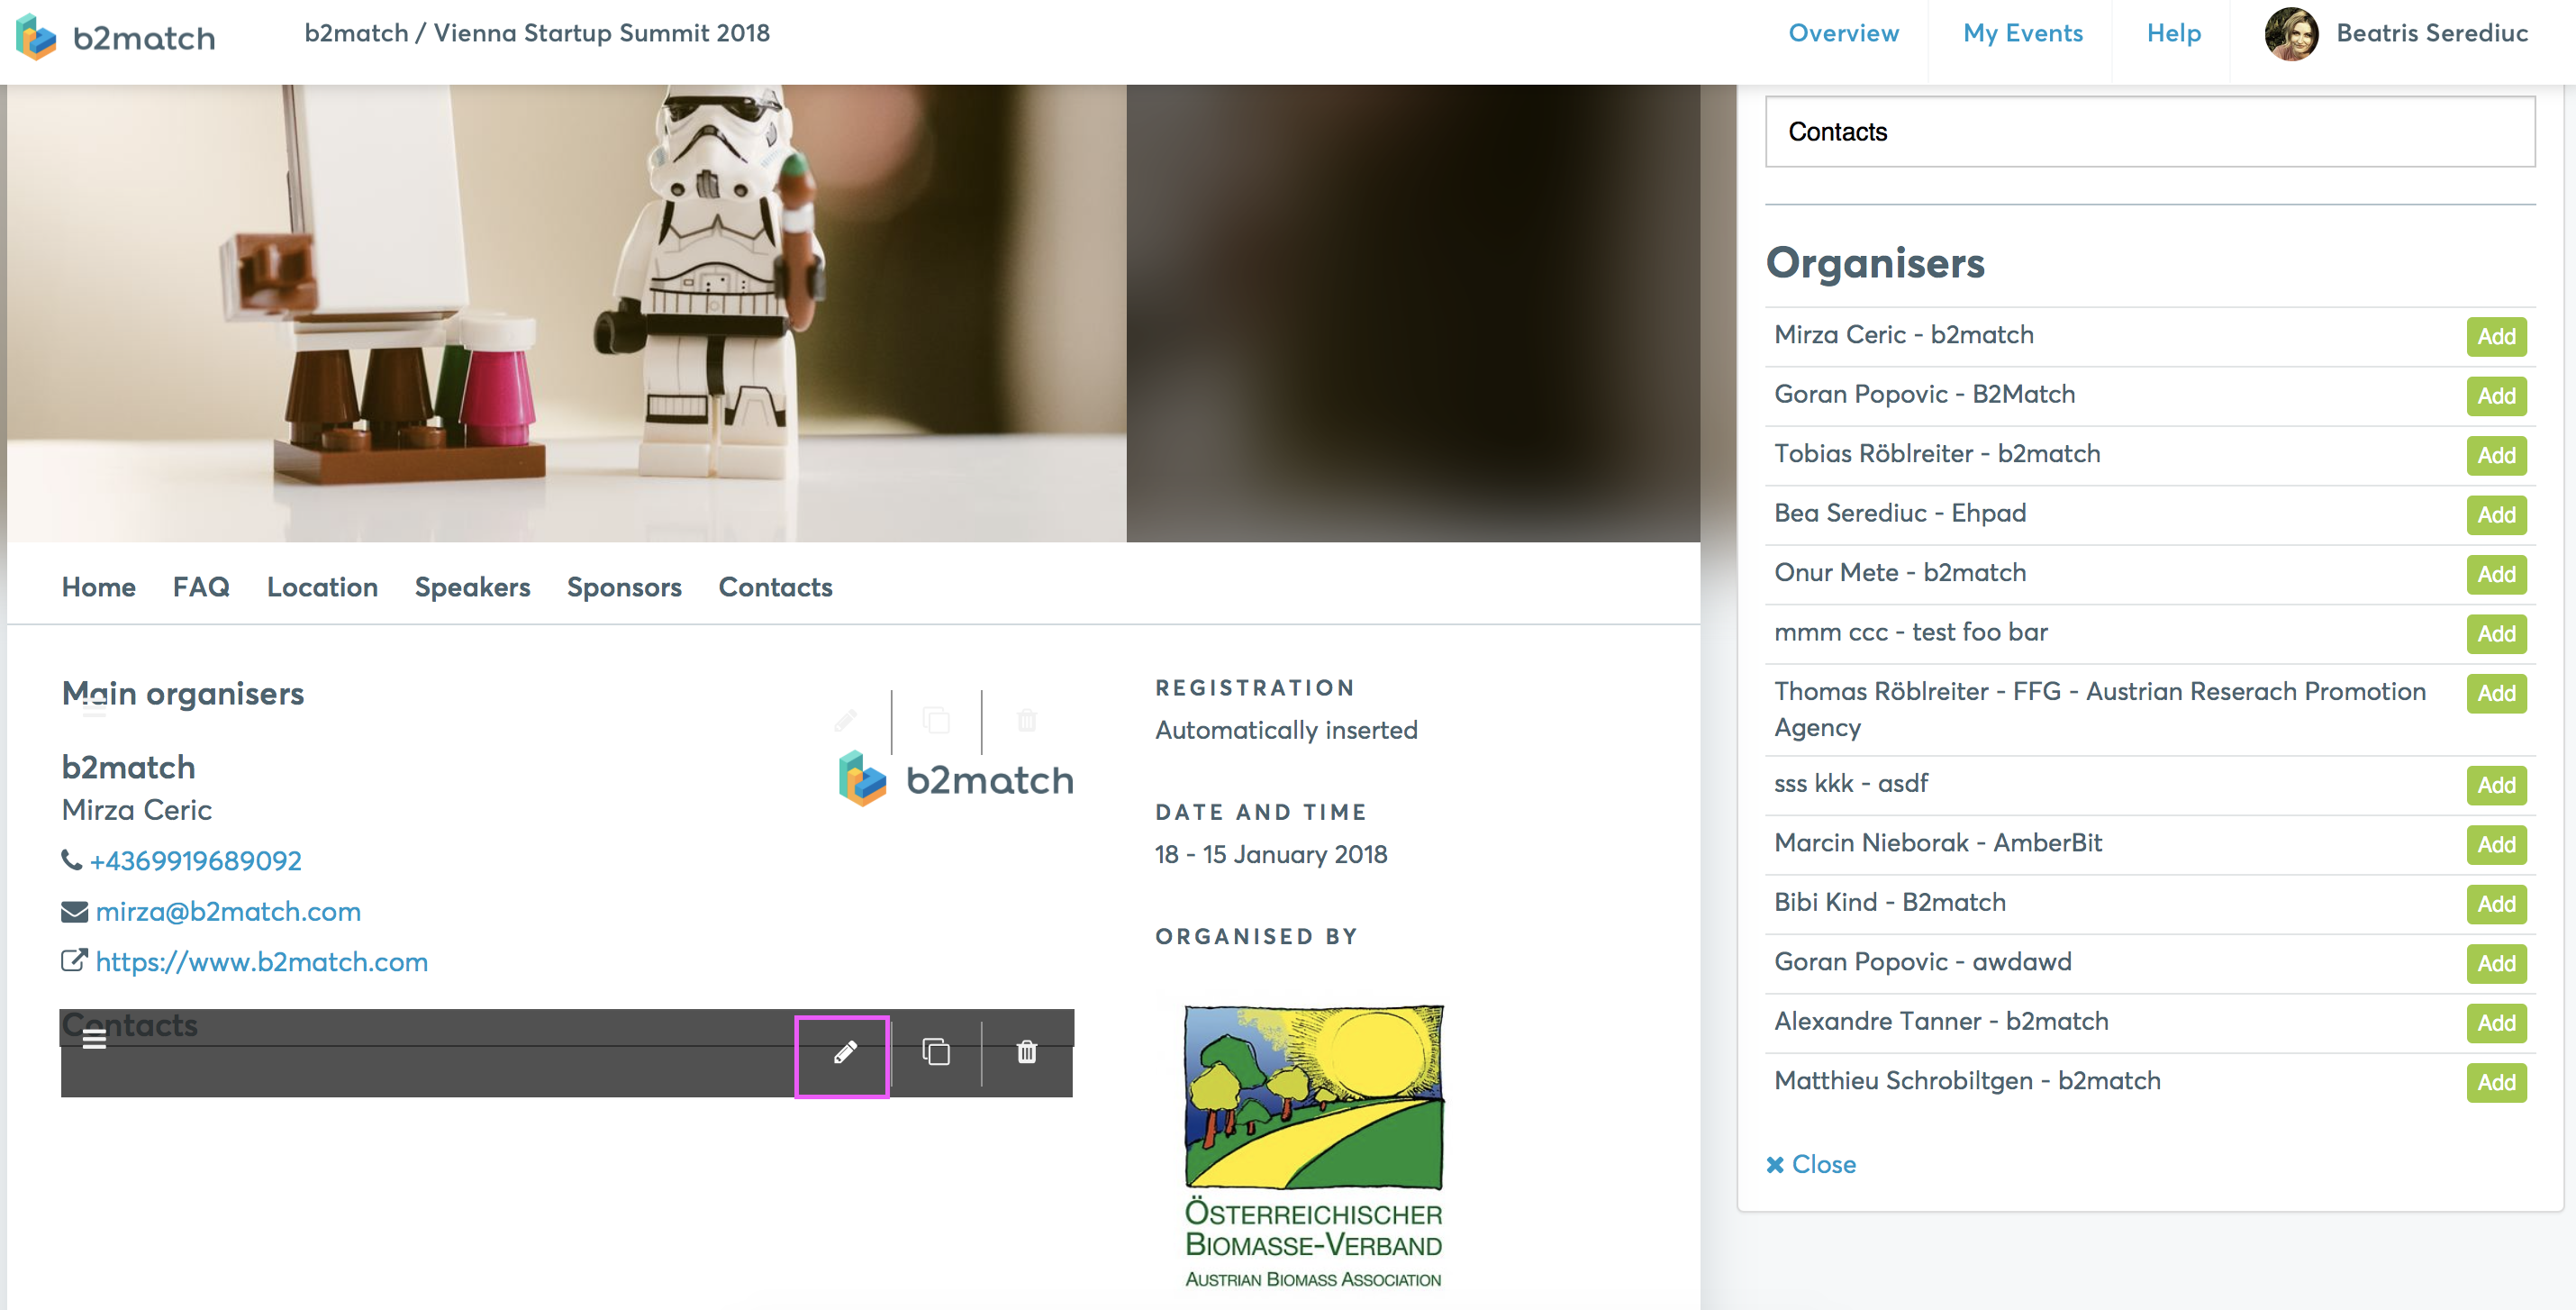
- Change the section name on the top right. The changes will reflect on the main section
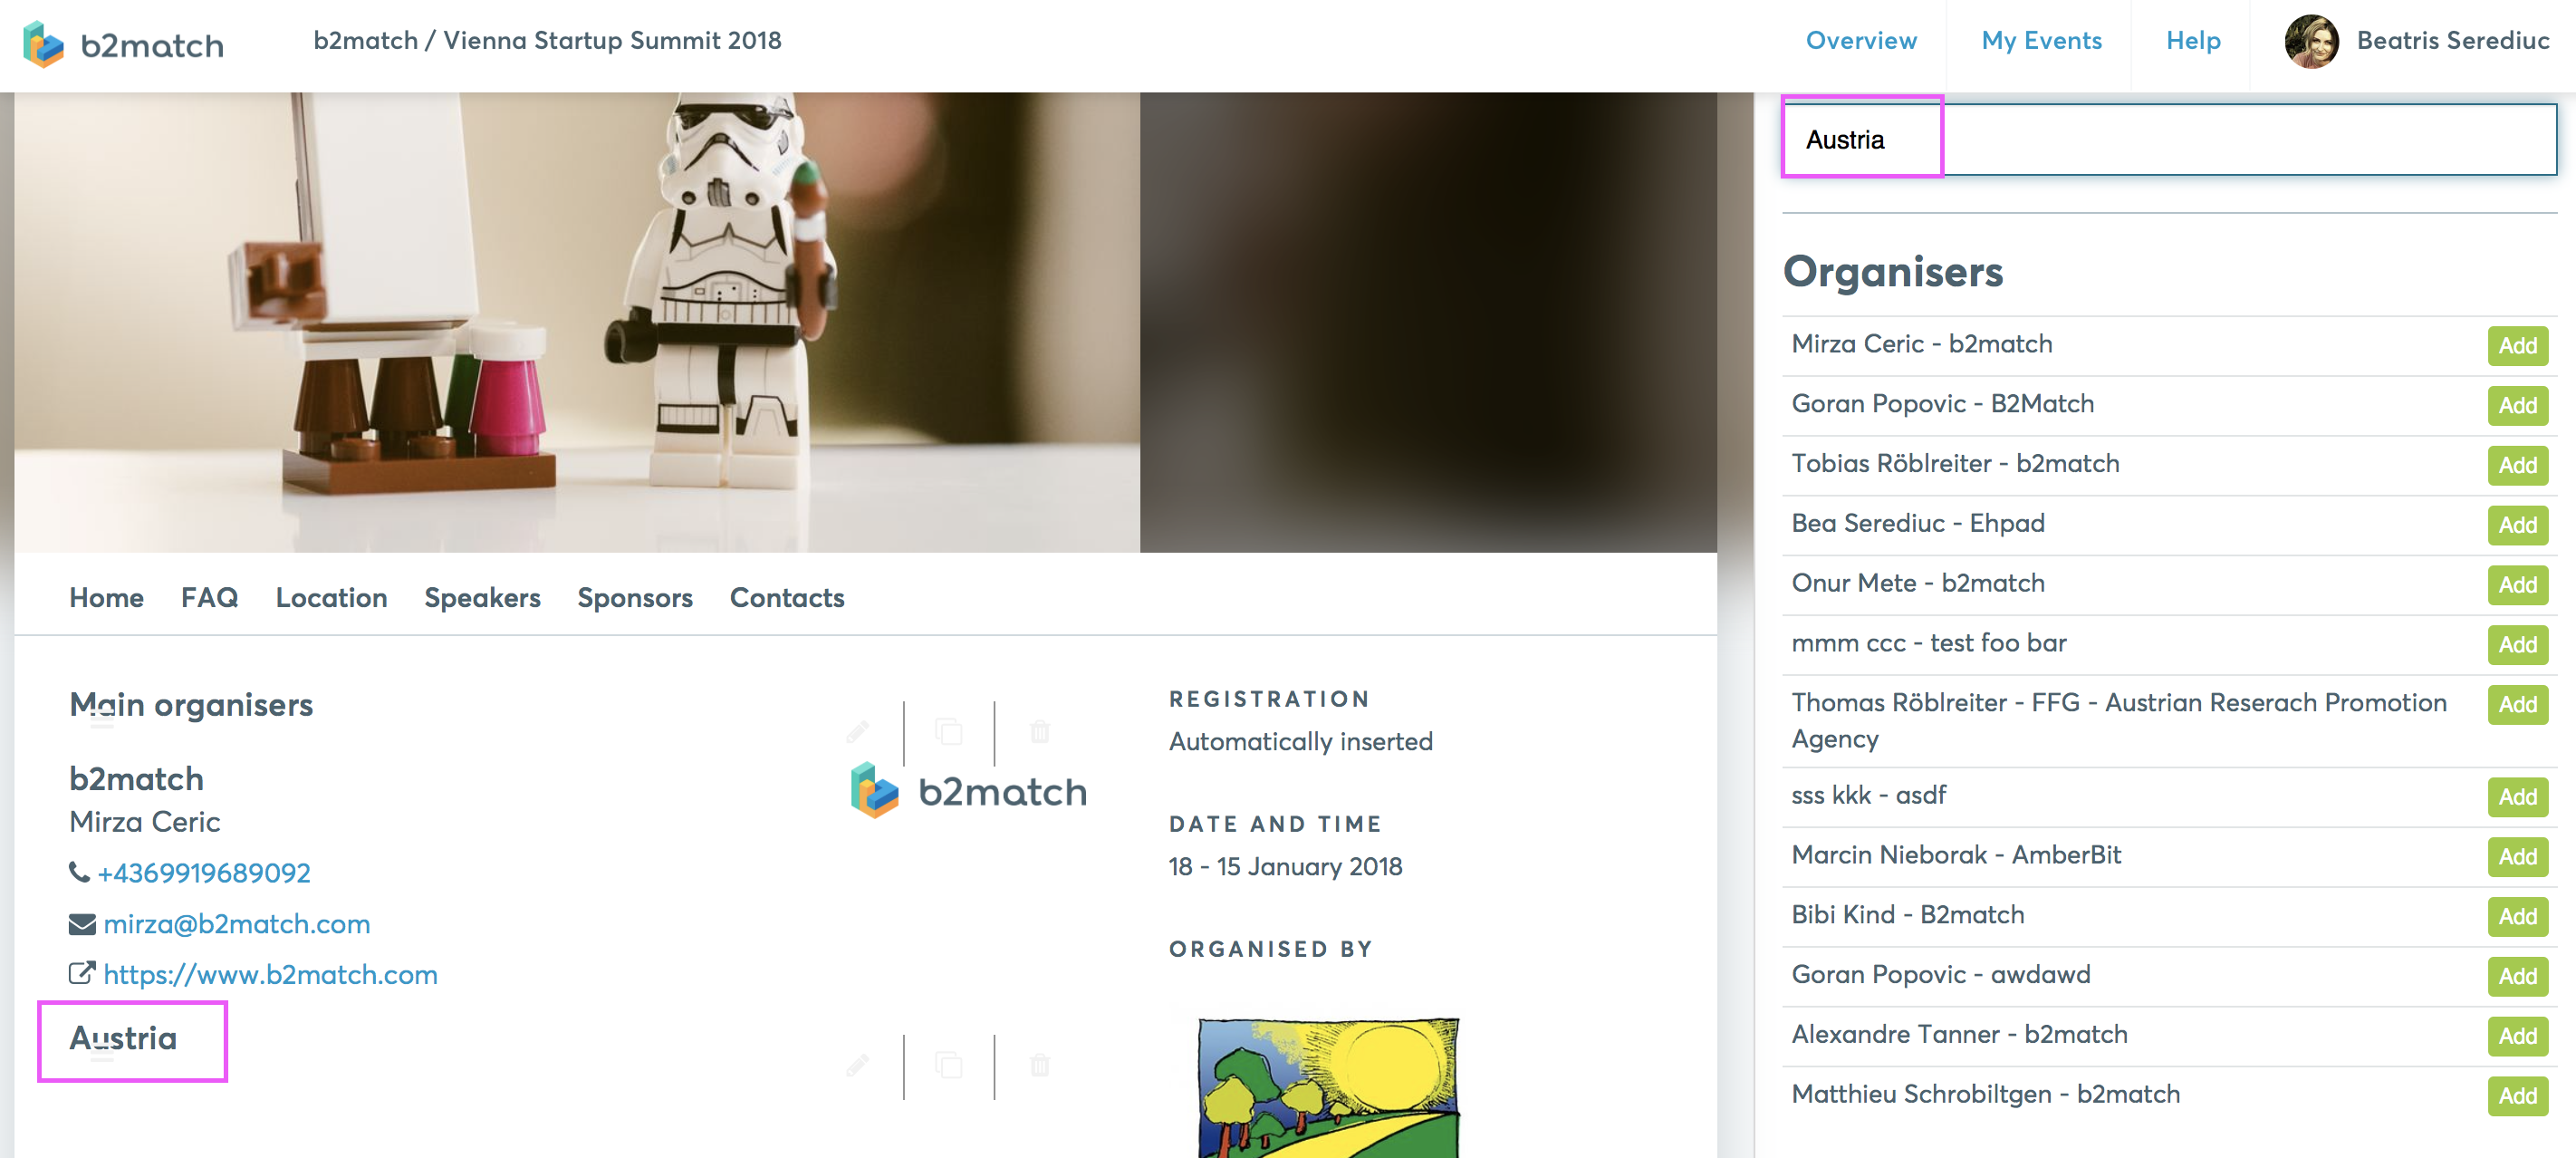
- Add the organizers you want to list in the new section by clicking on Add, the green button on the right section
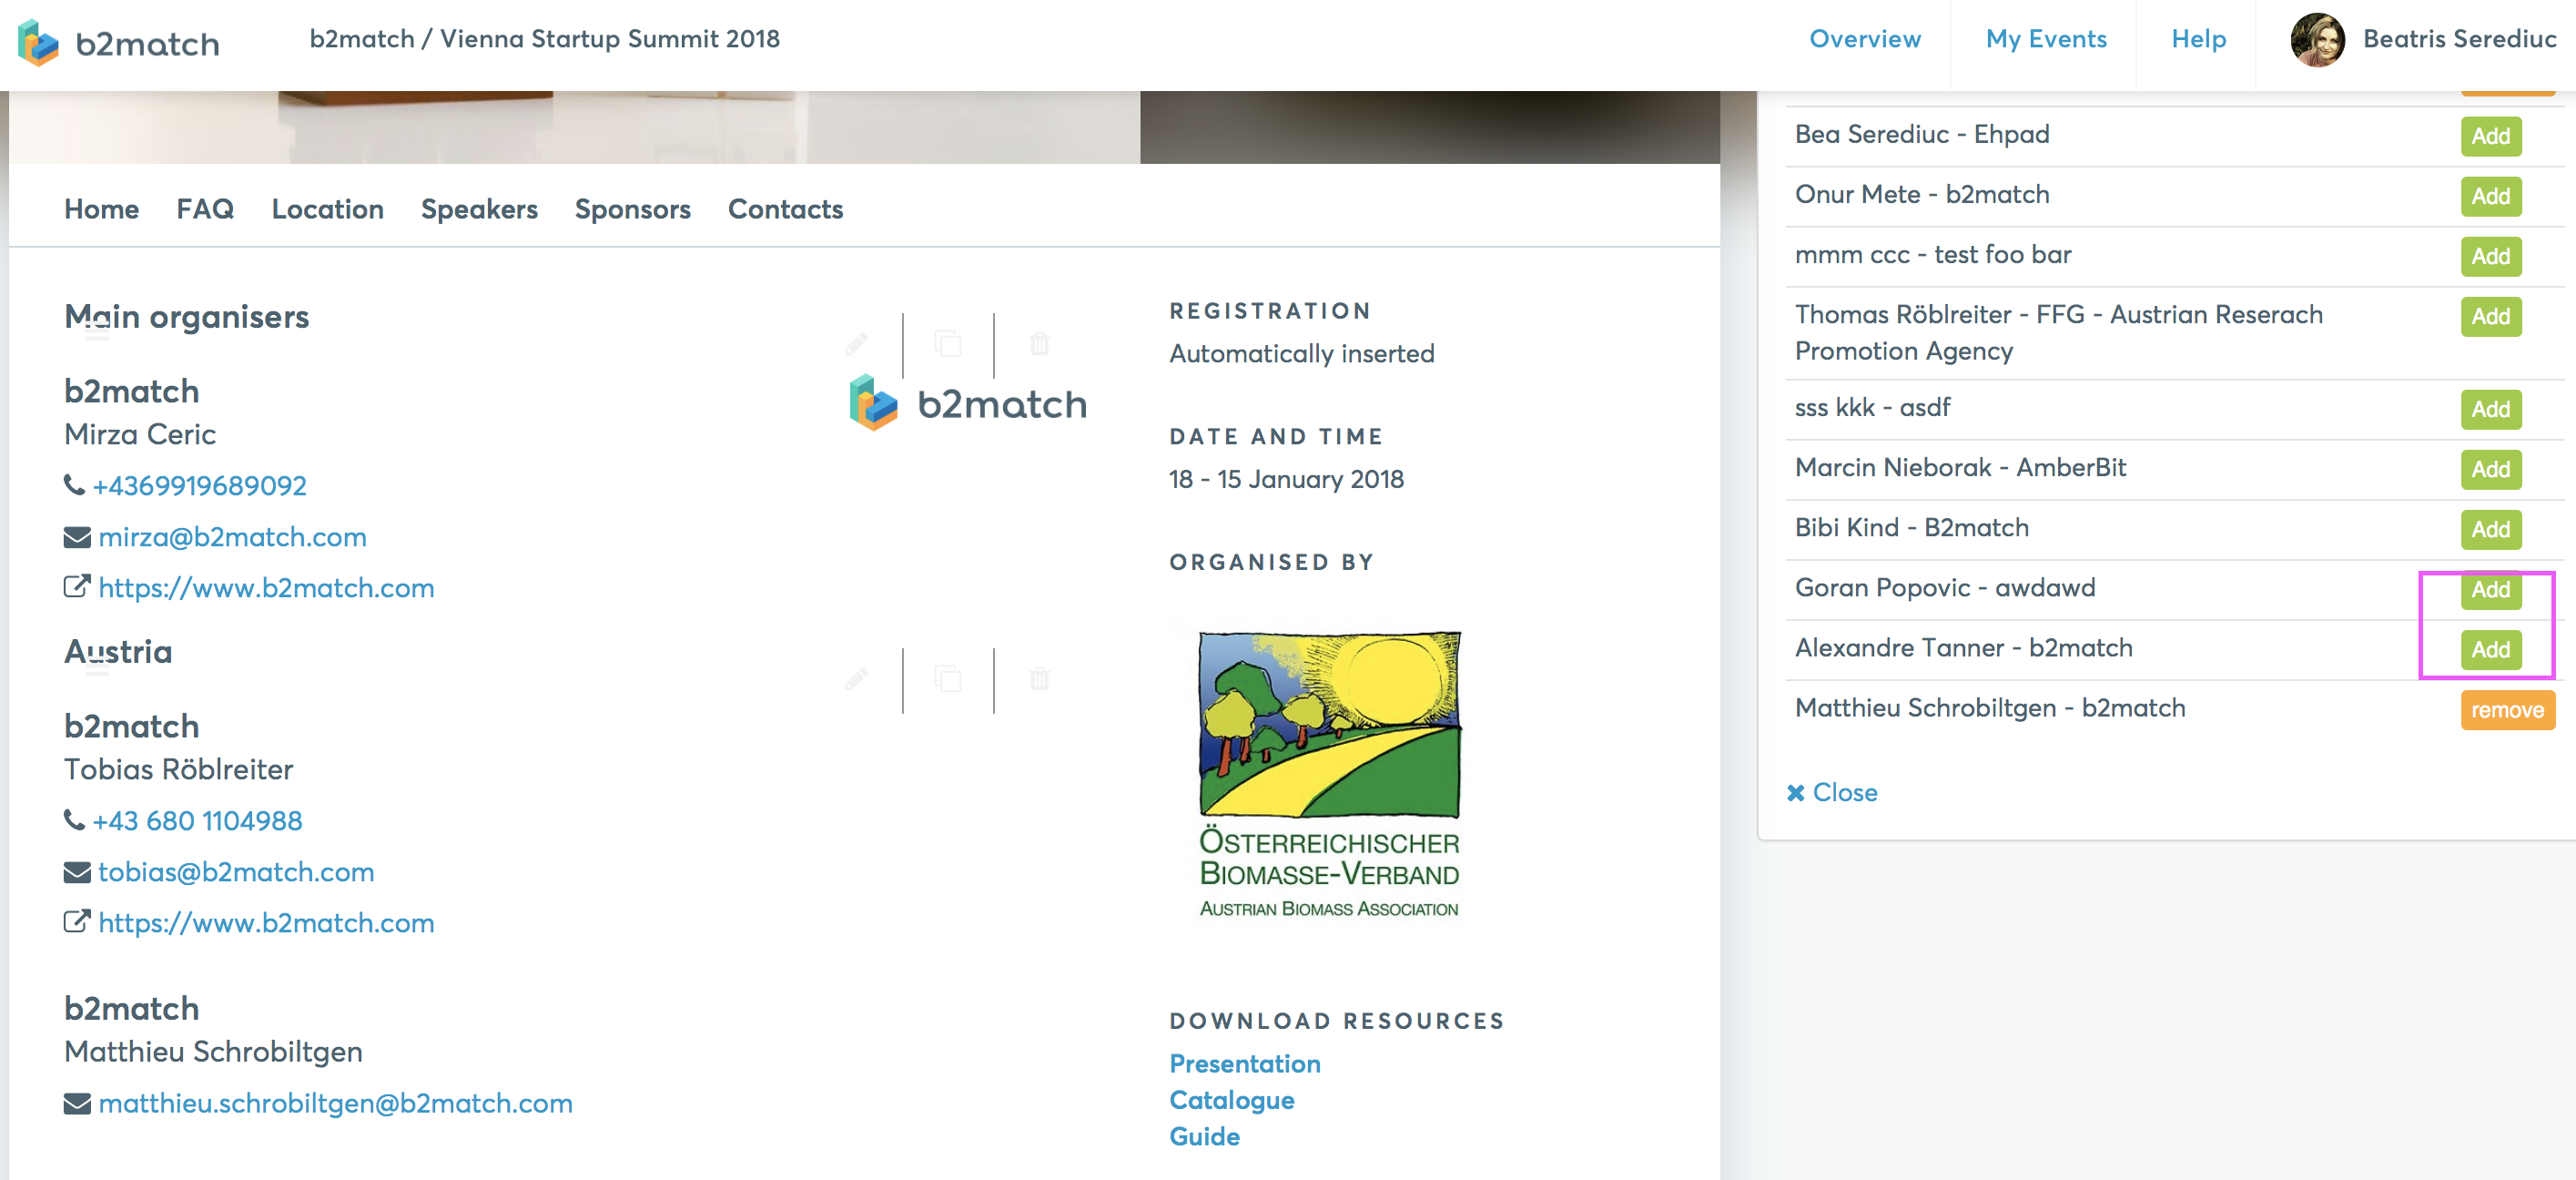
- Save and Publish
- The organizers will be now displayed in groups on your website.