Embarking on the journey to host a successful event? You've come to the right place!
In this comprehensive guide, we'll walk you through the process of creating a new event on the b2match event management platform. Whether you're a seasoned event organizer or venturing into the realm of event planning for the first time, our step-by-step instructions will empower you to craft an unforgettable experience.
How can I create a new event?
The first step to creating a successful event is to log in to the Organizer's tool at https://admin.b2match.com. After logging in, you will see an overview of all events and communities inside a workspace where you are a member or guest.
The workspace will be displayed in the upper left corner. To change your workspace, click on the workspace icon and from the drop-down menu, select Switch workspace and choose the workspace where you want to create the event.
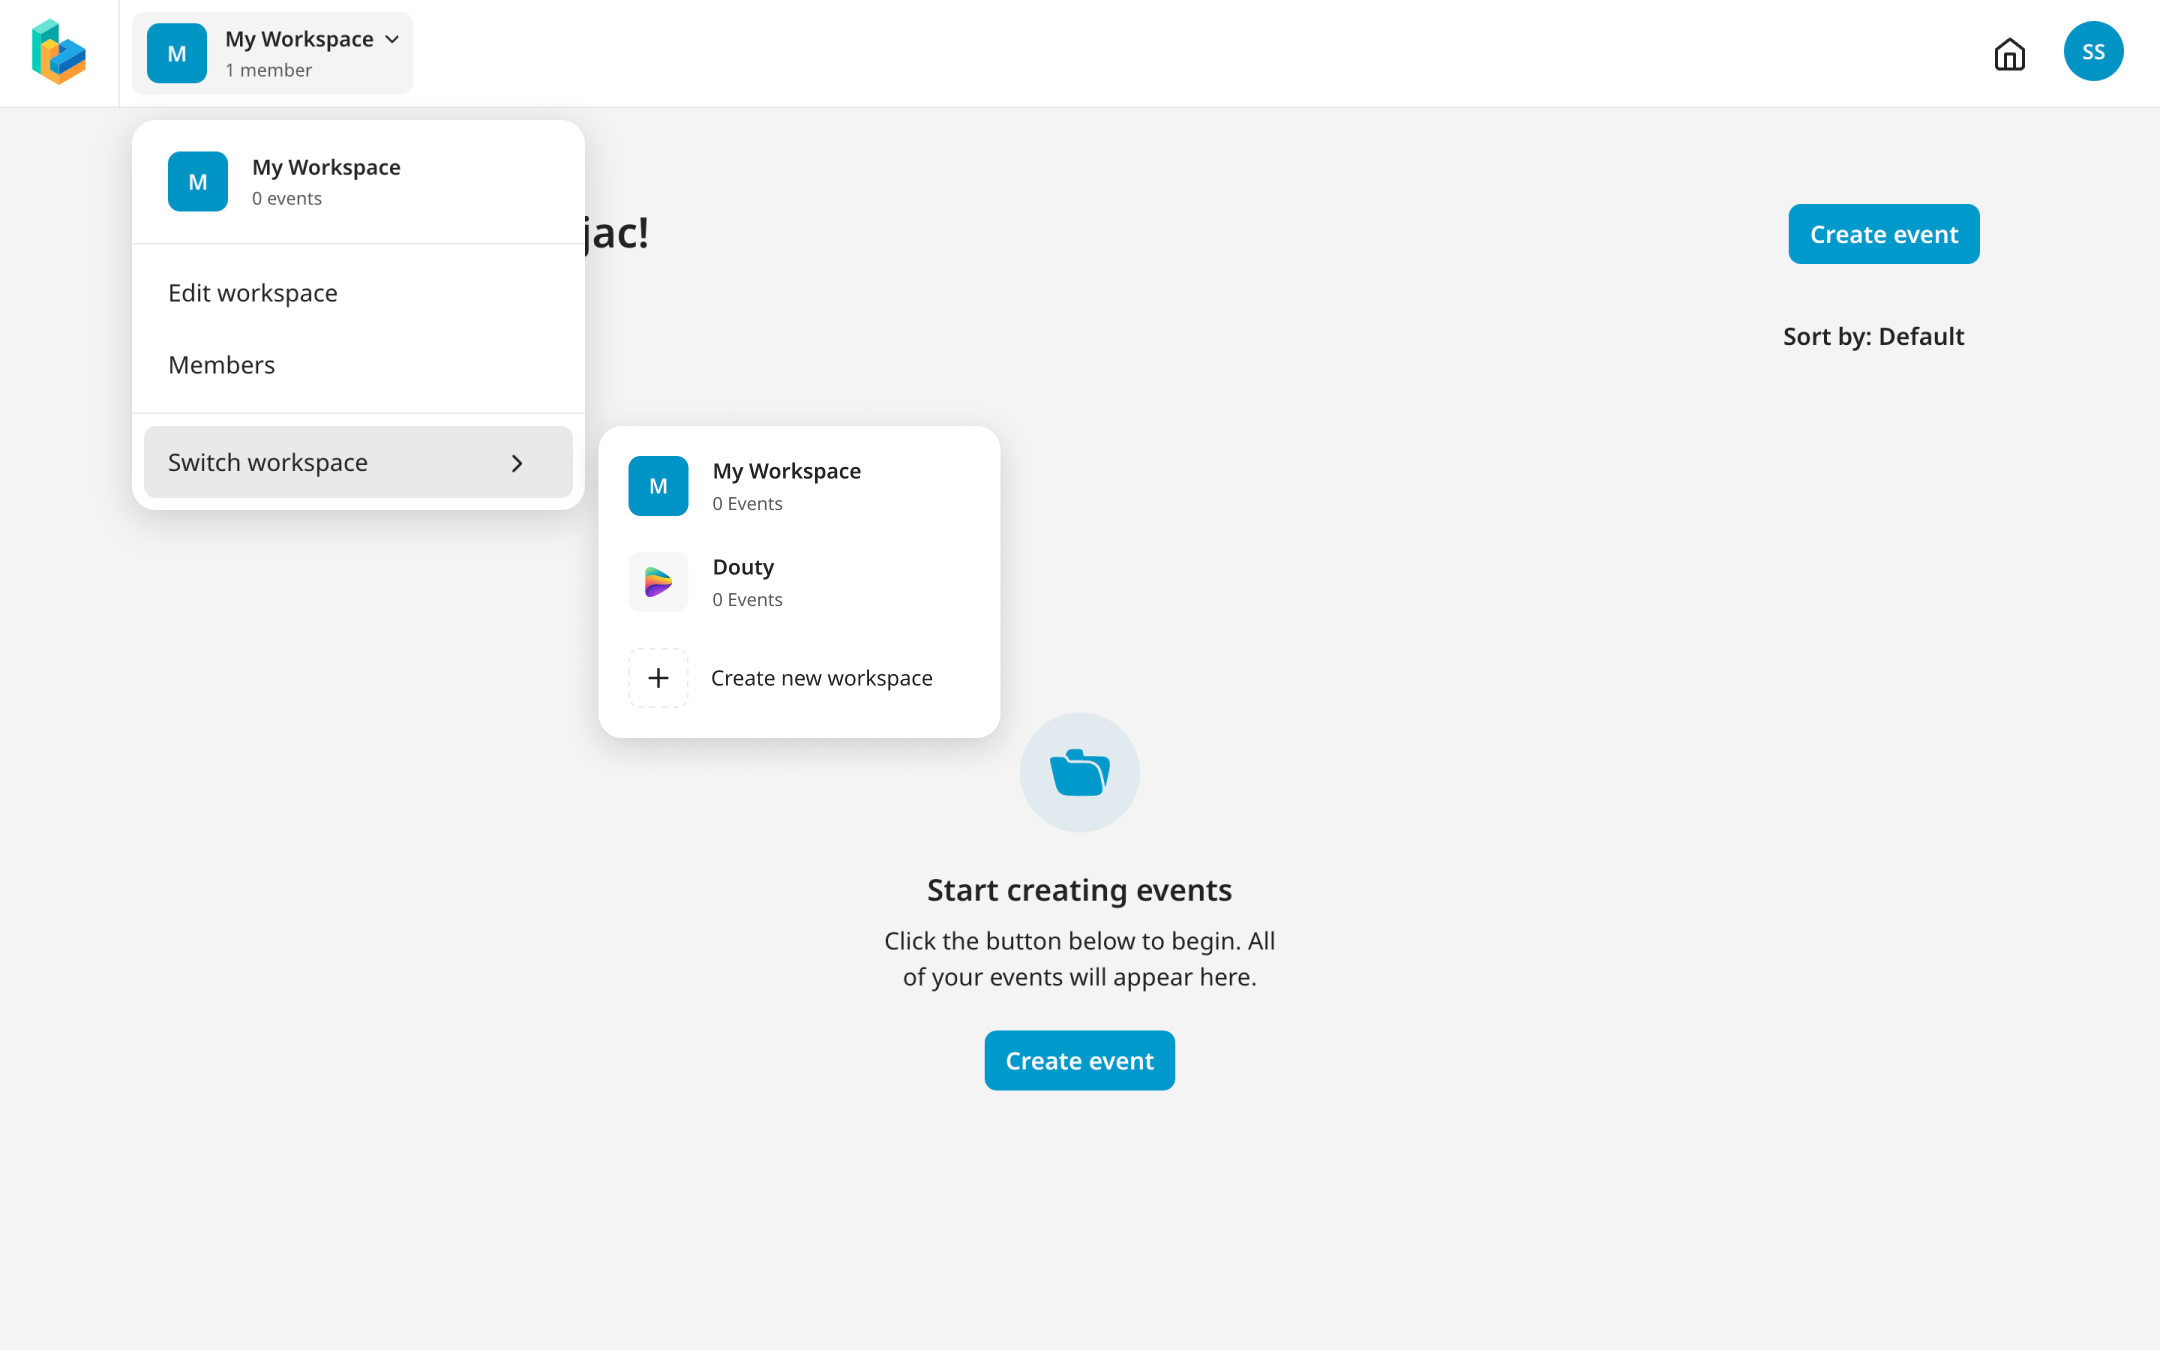
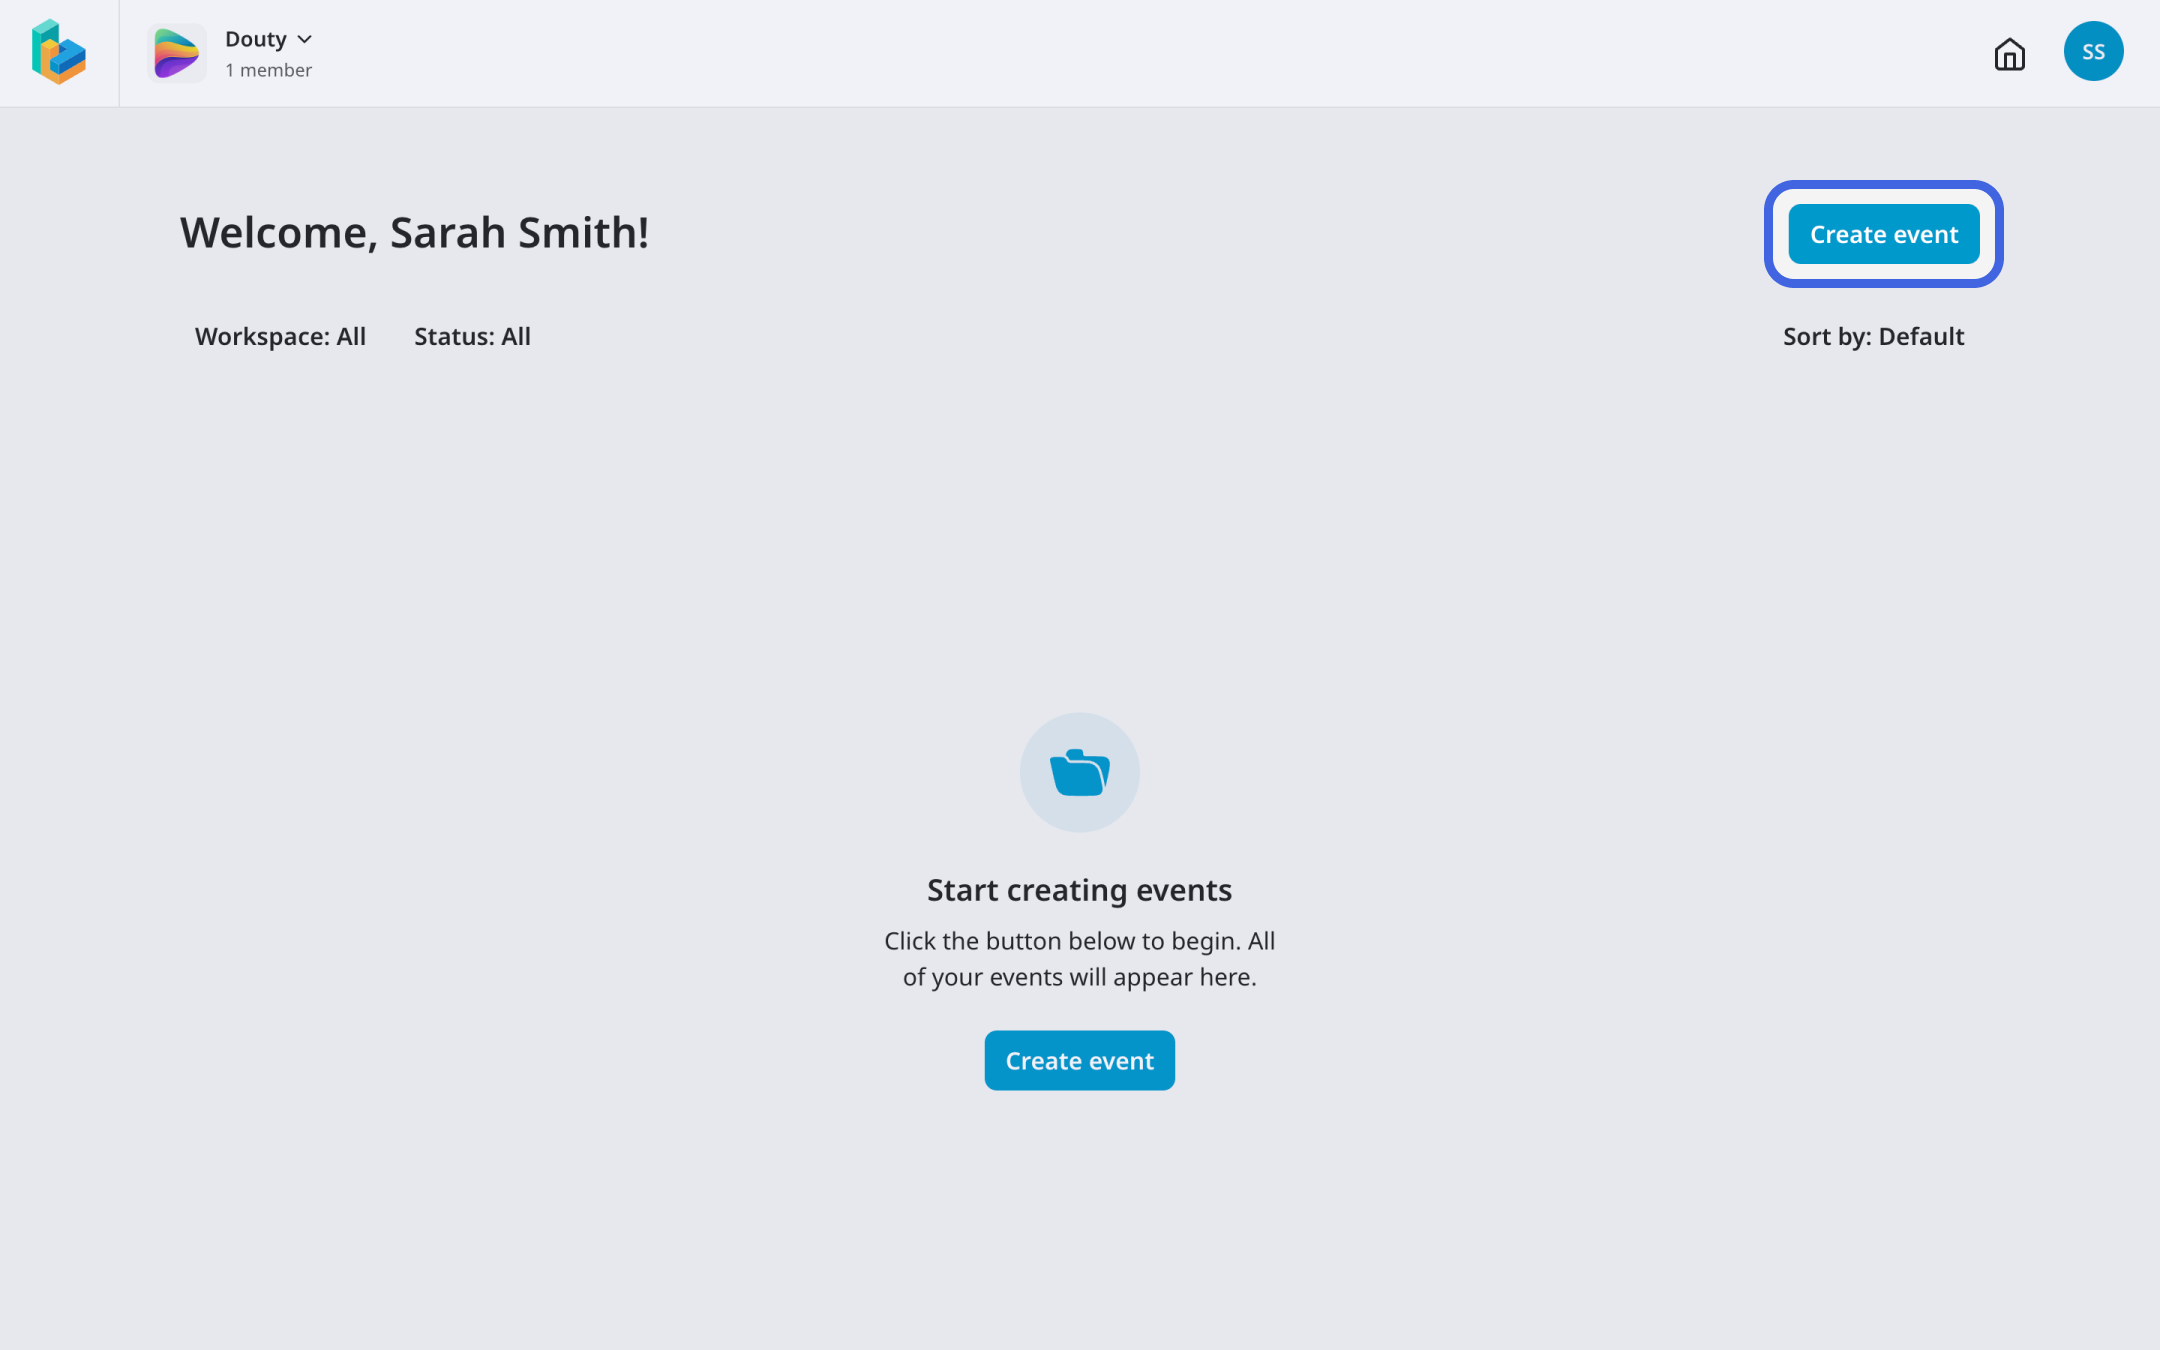
On your workspace, click on the Create Event button to create a new event.
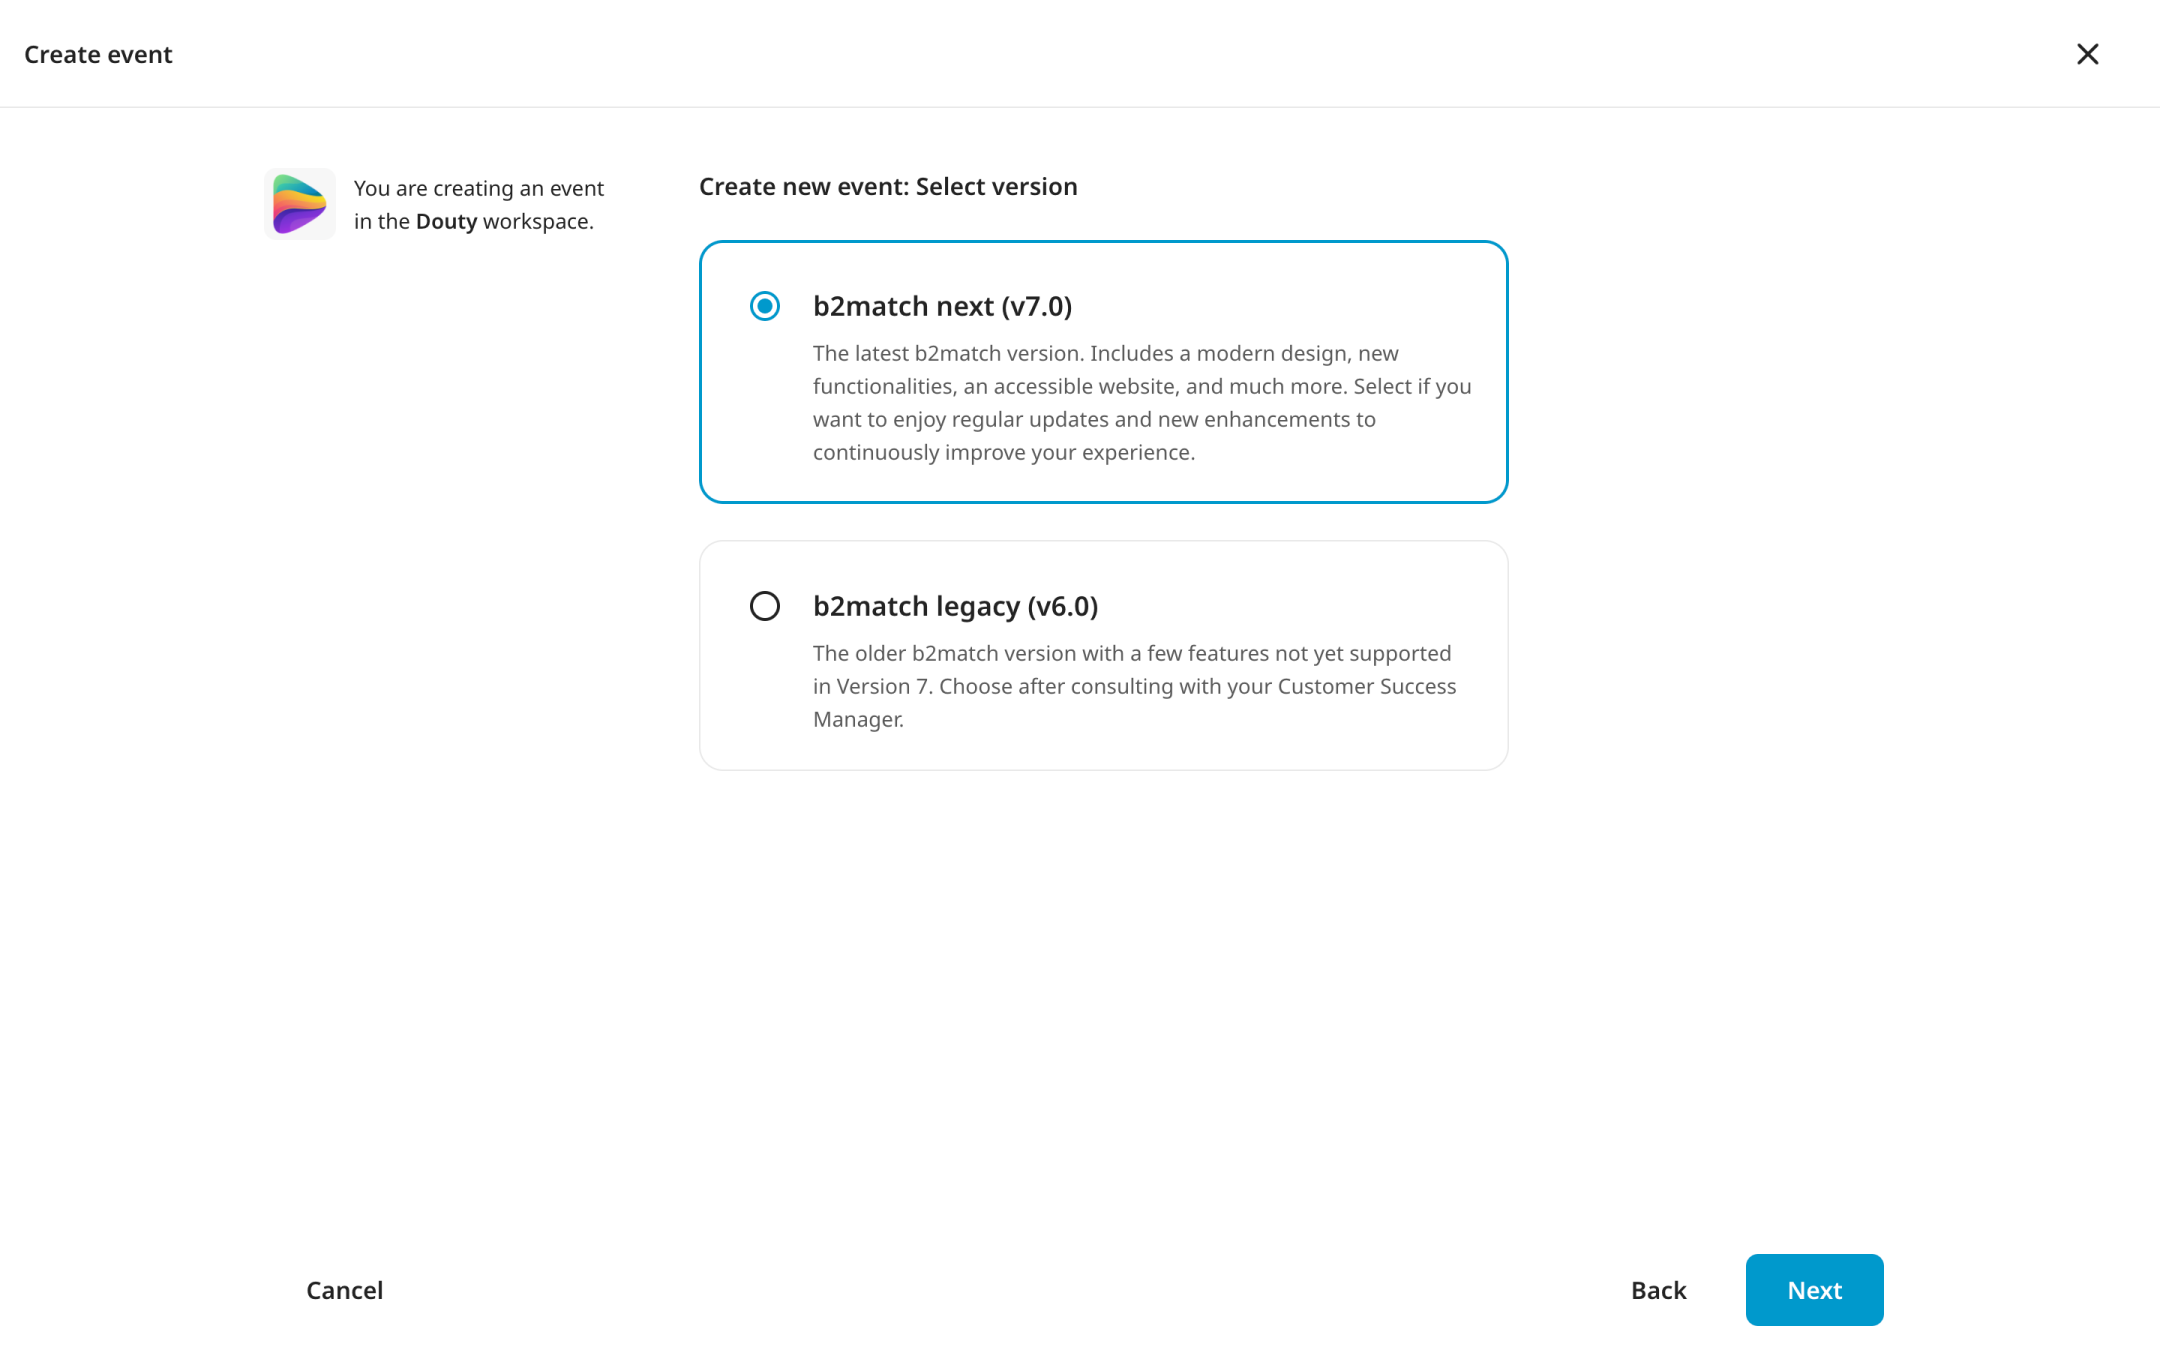
To create a new event in our latest version, choose b2match next (v7.0), and then click on Next.
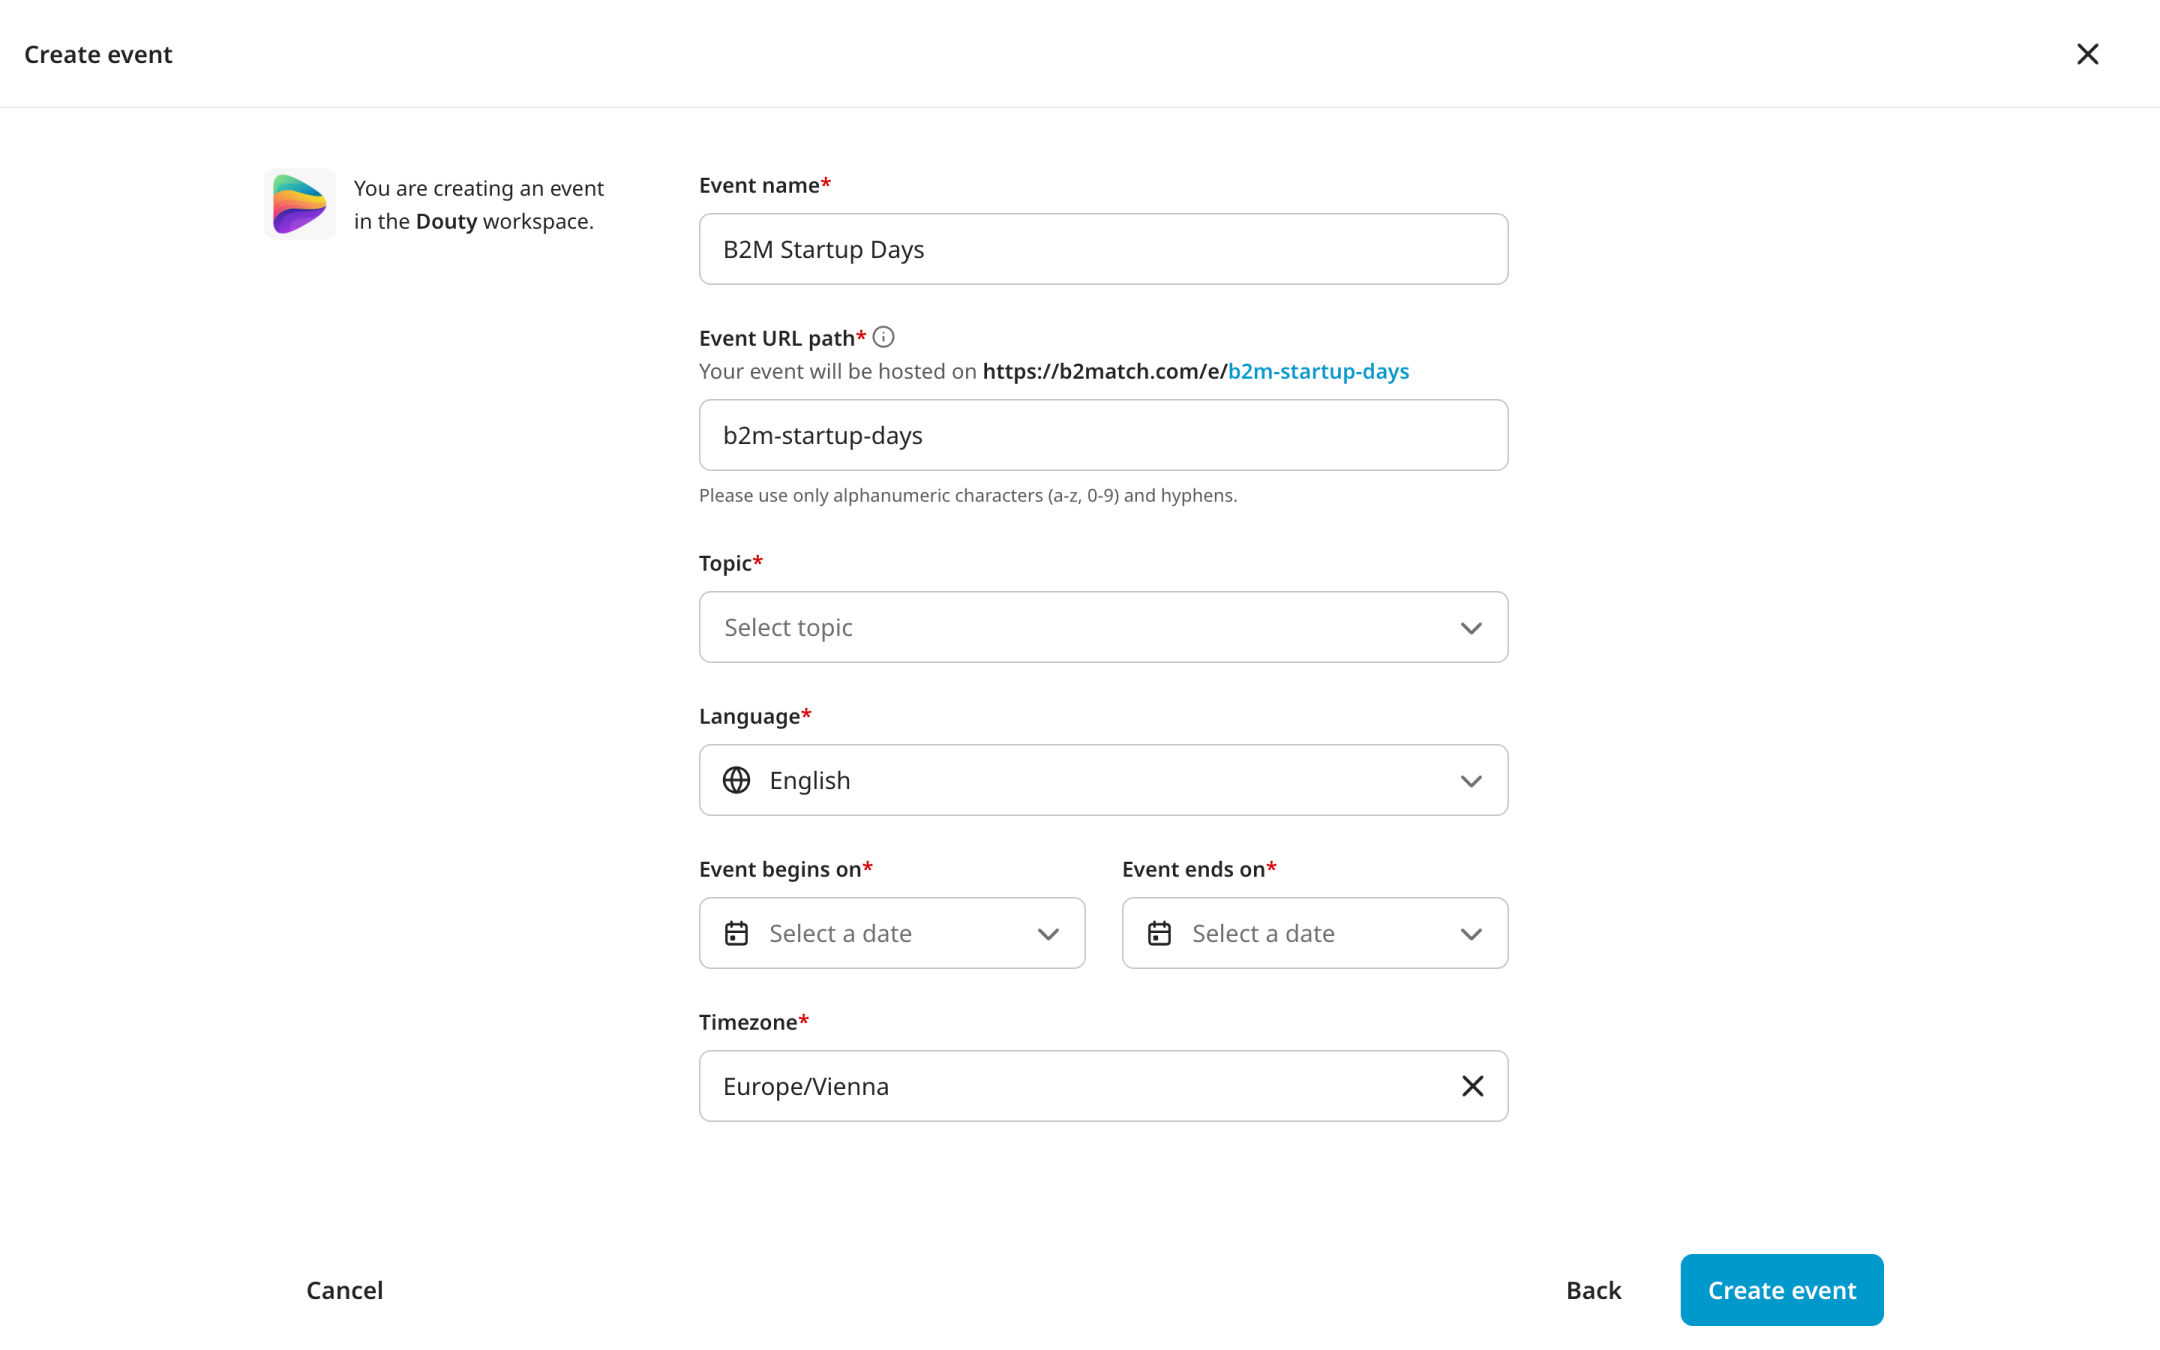
After choosing b2match next, it is essential to give relevant information about your event.
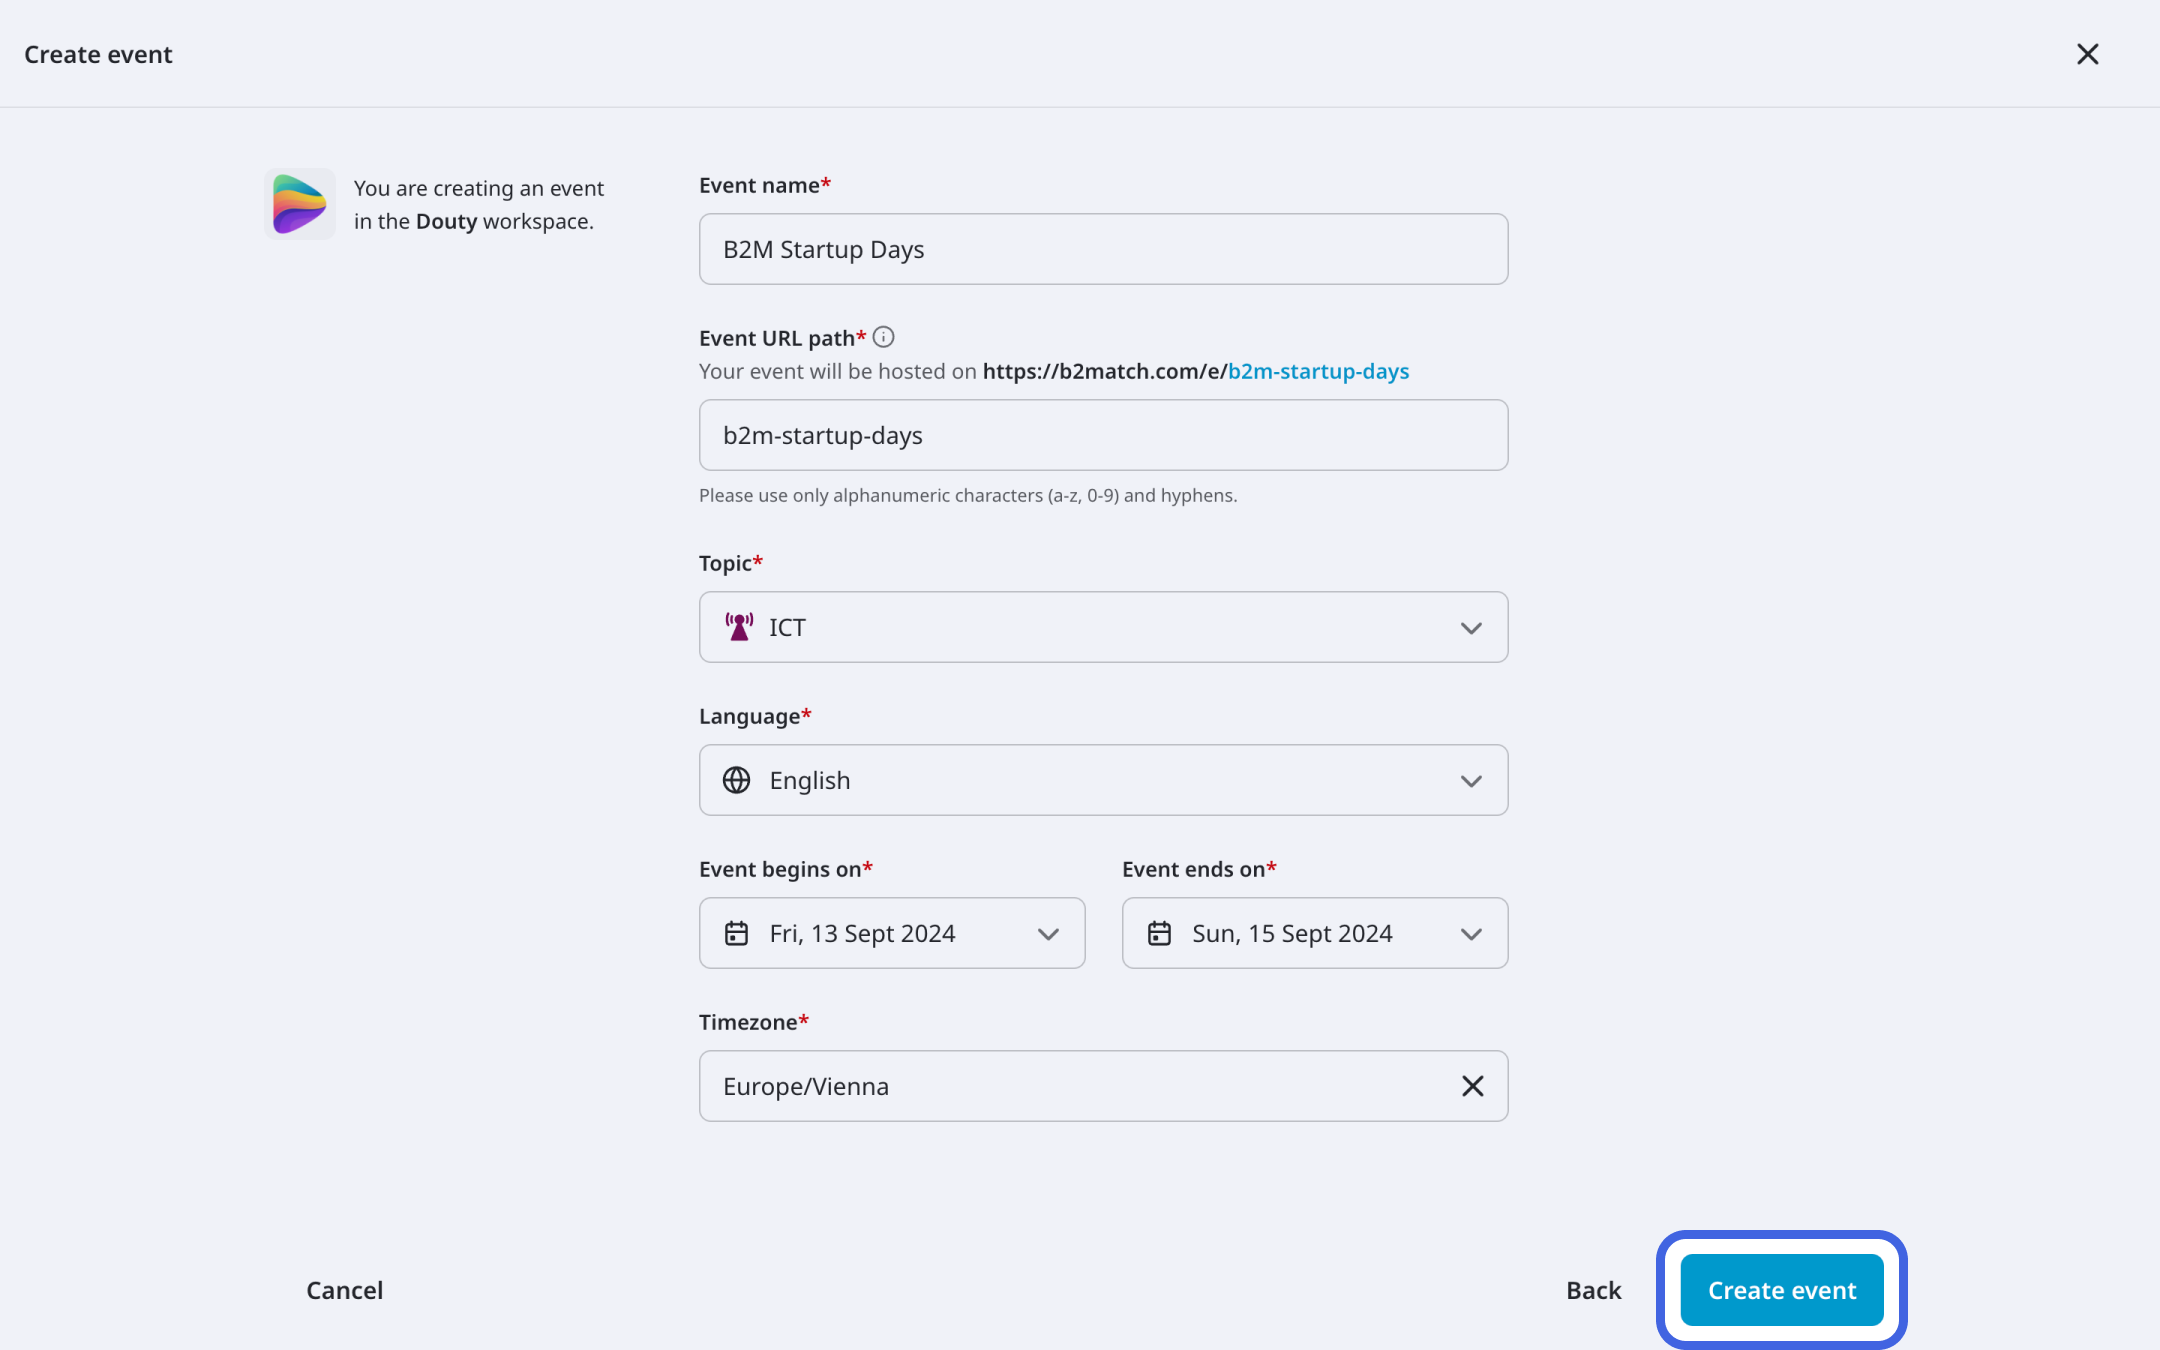
First, provide the event’s name in the Event name field. Keep the name short, in a maximum of 90 characters, simple, and engaging.
Then, specify the URL for your event. The system automatically pre-fills your event's URL path based on the event title you submitted. If you want an alternative event URL, remember to update it in the Event URL path field.
Keep the URL as short and simple as possible by using only letters, numbers, and hyphens ("-"), as other special characters are not allowed.
Note: Keep in mind that all events created in b2match next are by default hybrid events. This approach provides participants with greater flexibility, ensuring they won't miss out on an event because of unforeseen circumstances.
From the Topic drop-down menu, select the general topic of your event to give your attendees a better idea of what topics are going to be discussed in your event.
Then, from the Language drop-down menu, choose your event’s main language. After you create the event, you can add more languages. Learn more about multilingual events.
Note: Currently, you can choose between 7 event languages: English UK, German, Italian, Spanish, French, Croatian, Dutch, Japanese, Hungarian, Polish, and Chinese (Simplified).
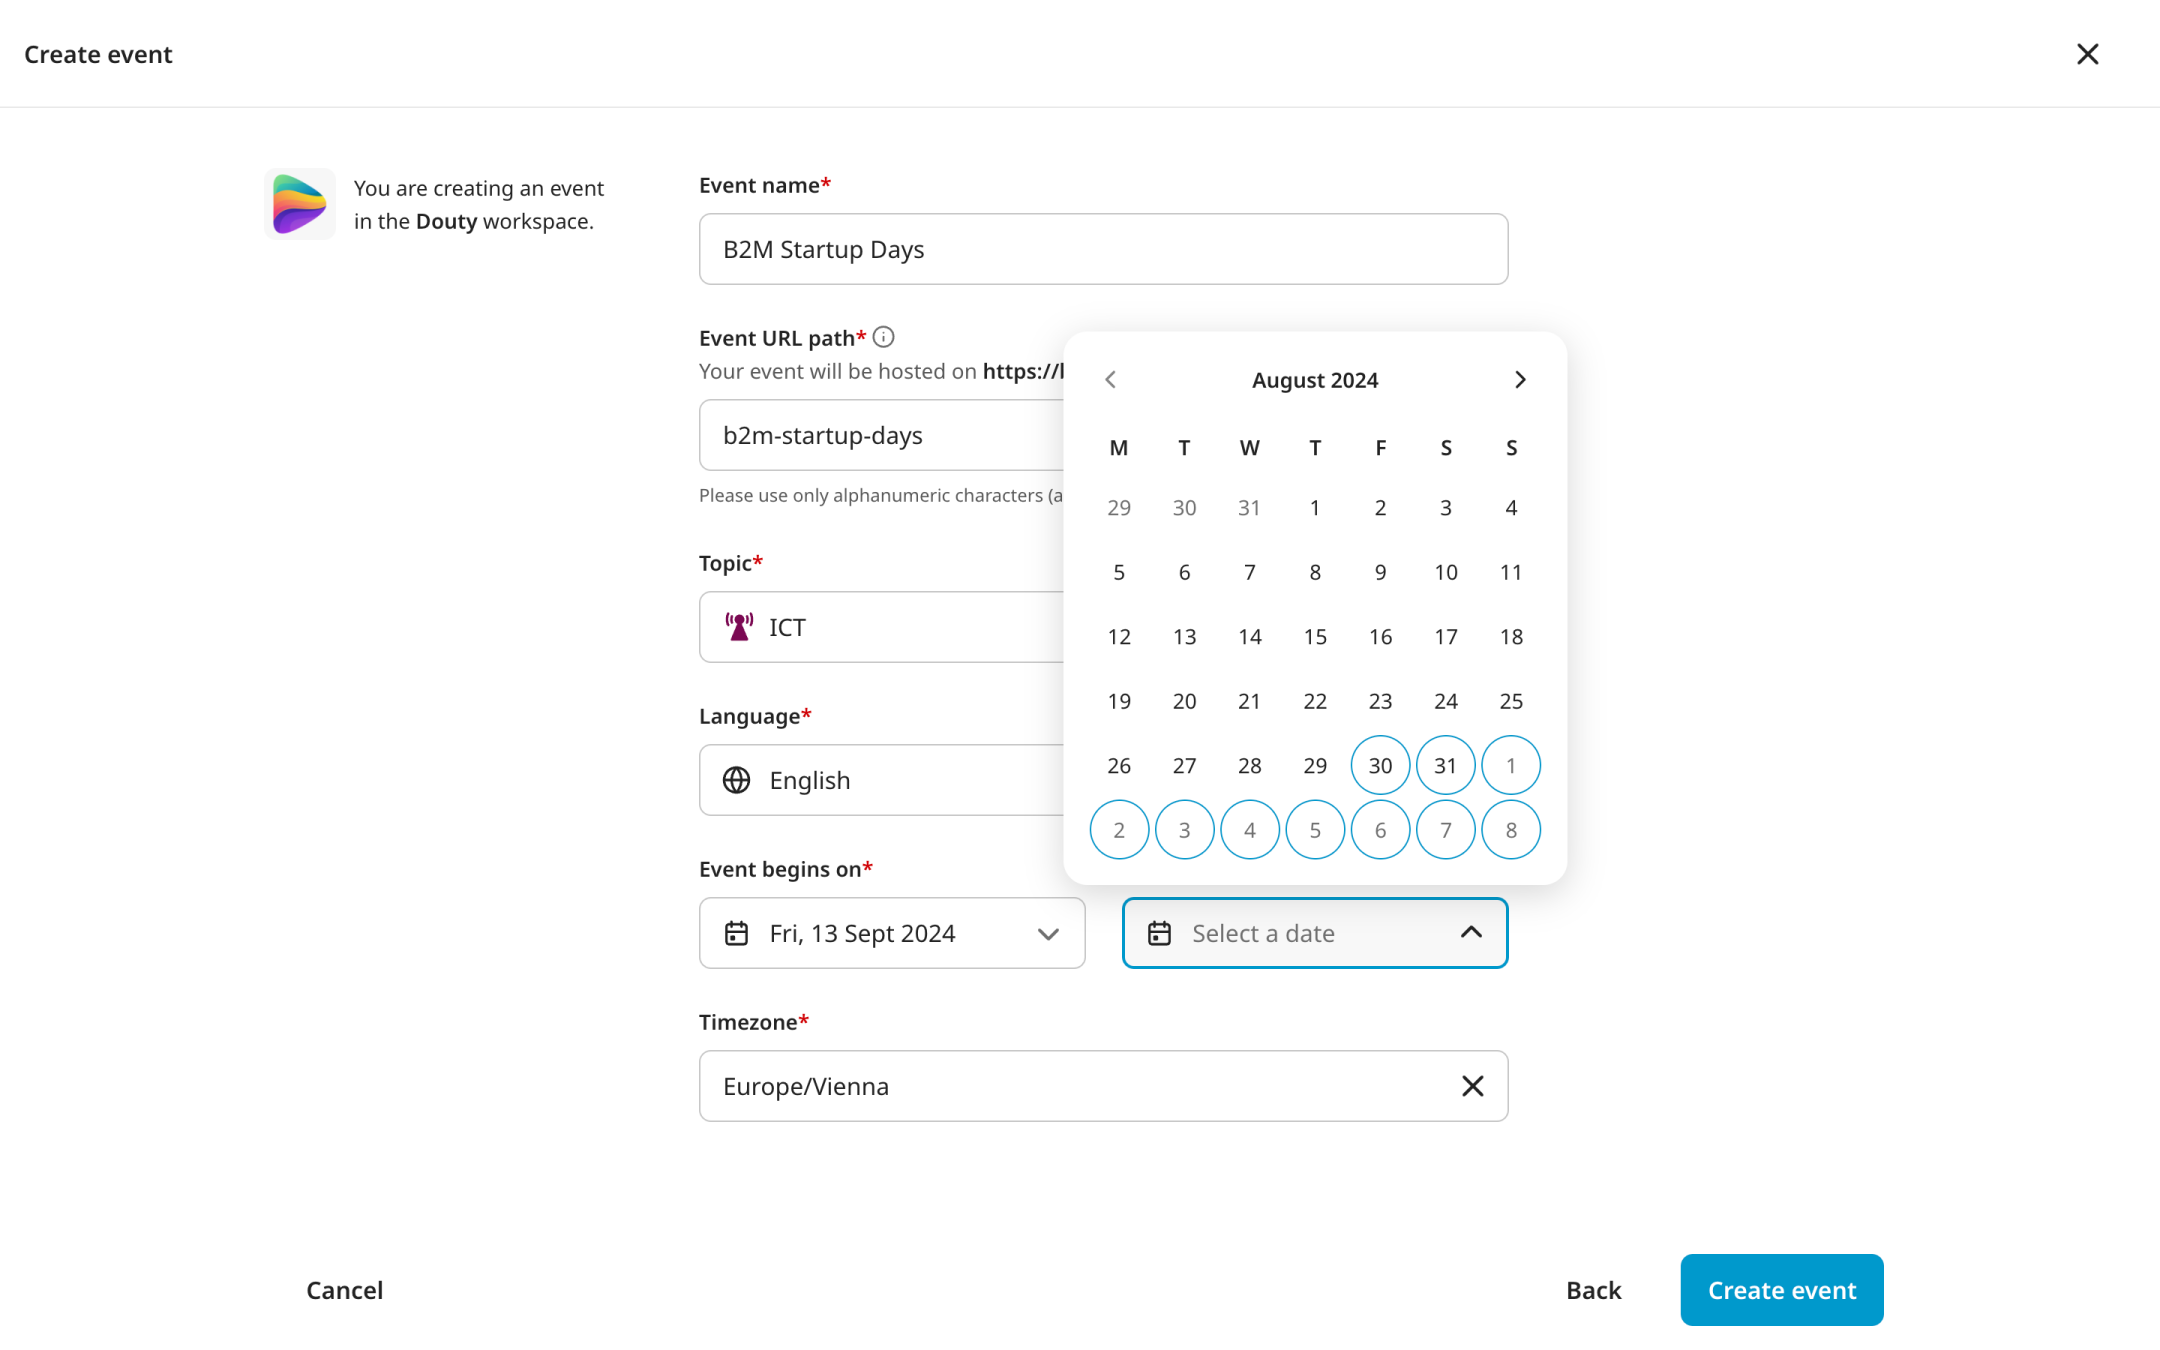
Next, define your event’s start date and end date in Event begins on and Event ends on fields.
In the Time Zone field, select the time zone of your event. Keep in mind that your Agenda will be displayed in this time zone. However, upon registering, participants can select their own time zone. If they choose a time zone that differs from the default, they will see everything in their time zone.
Note: When specifying the event’s start date, keep in mind that the start date of the event can be a minimum of 7 days after you create the event on the platform.
If you have already organized an event on the b2match platform, you will notice the Copy previous event setup section, where you can select your previous b2match next event to copy its settings. To learn more about this topic, refer to our article Copying a previous b2match event.
When you have filled out all the mandatory fields (marked with a red asterisk *), click on Create Event.
This will set up the basic event website, and you are all set to configure your event.
If you didn't find an answer to your questions, please get in touch with the Support Team here.