If you want to participate to an event organized with b2match, you need to register for this event through our platform. Every registration creates a participant profile. Every participant profile is associated with one email address.
1. Click on Register and enter your credentials
In case you already have a b2match profile, you need to register with the email address that you used with our platform before. Otherwise, just follow the registration steps, with using your preferred email. Please note you will be receiving emails from the organizers and notifications from the system.
Click on Register on the event website.

Enter your email address and click on Continue with email. Alternatively, you can log in using your Google or LinkedIn account.
Enter your password if you already used b2match before or create a password if you haven't. Tick the box to agree the terms of service and privacy policy.

Registering with LinkedIn
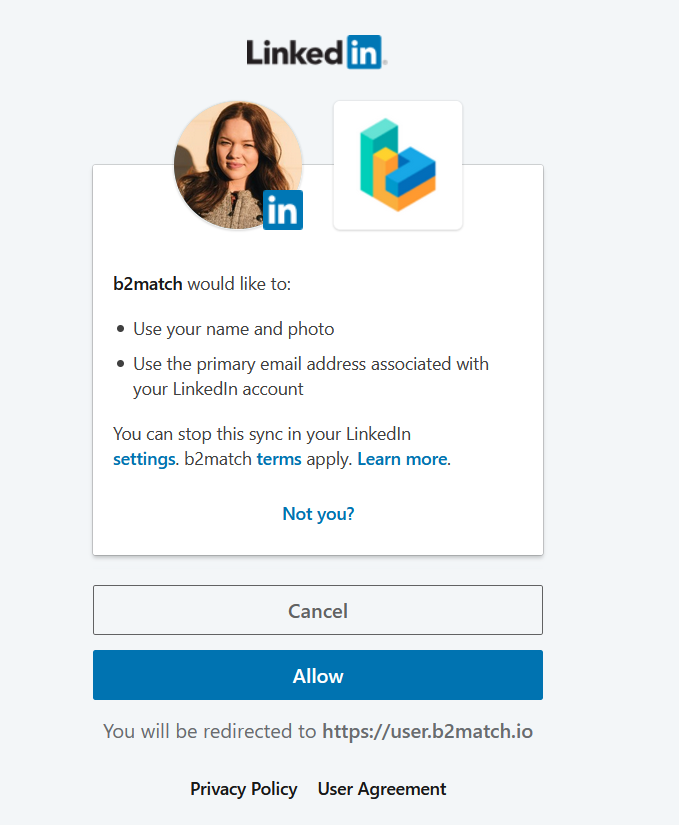
If you choose to register for the event by using LinkedIn, you need to authorize b2match to use your LinkedIn name, photo and email address associated with your LinkedIn account.
You need to enter the LinkedIn credentials (email and password) and click on Allow. Keep in mind that most of the LinkedIn accounts are created with personal email addresses, therefore you will register the event with your personal email address.
Your name and photo (as added in LinkedIn) will be pre-filled in the b2match registration.
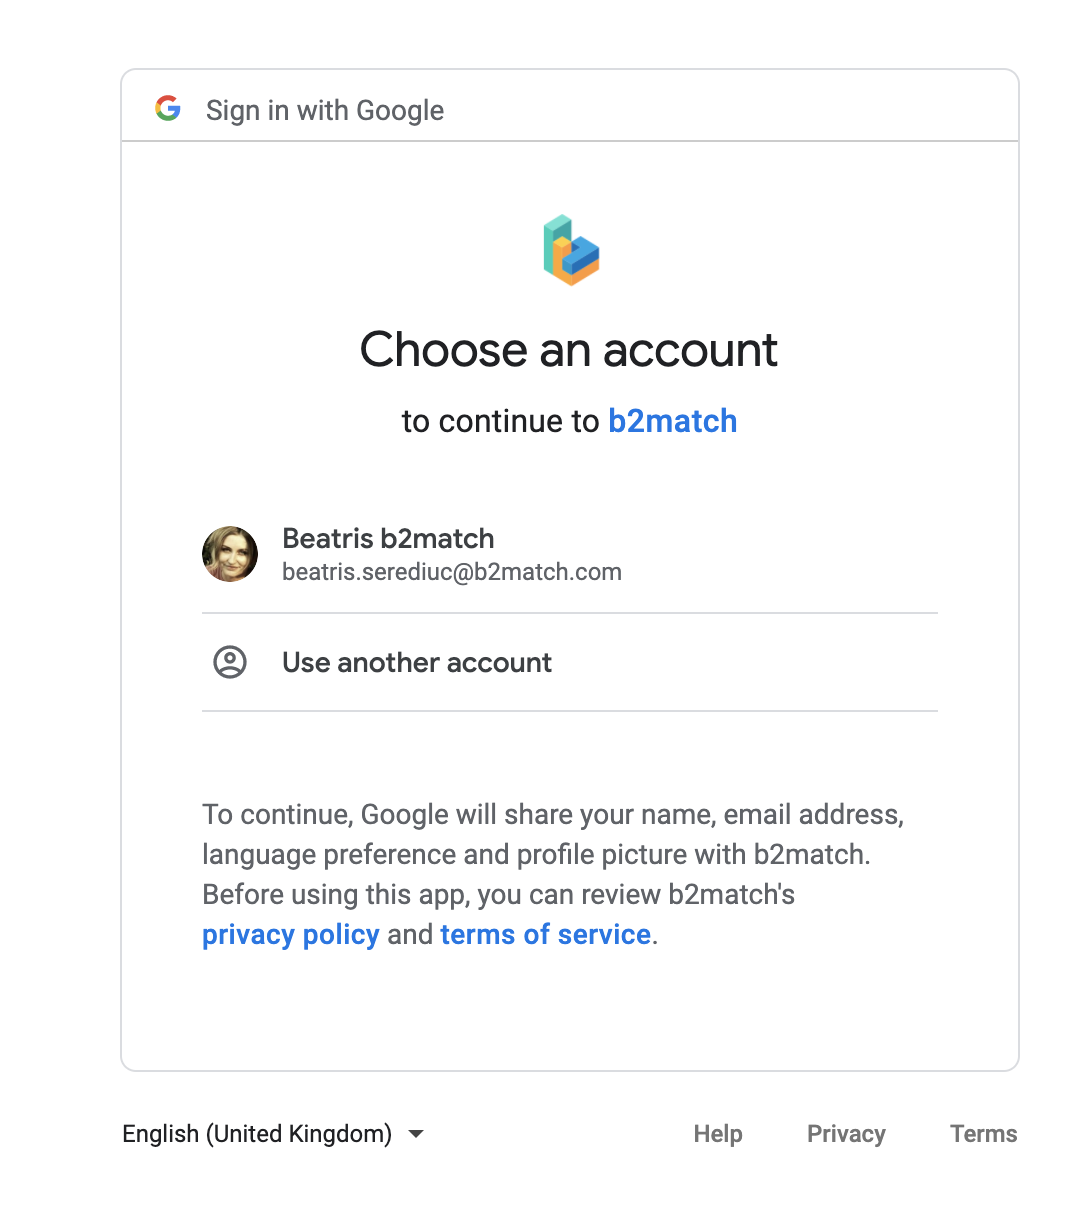
Registering with Google
If you choose to register for the event by using Google, one of your Google accounts needs to be picked as a first step (in case you have several).
2. Choose your attendance type
When you want to attend a hybrid event, you need to choose between the online and on-site attendance types in the registration process:
- On-site (hybrid) - the participant will be physically present at the event and will be able to join online sessions and meetings as well
- Remote - the participant will attend the event remotely.

3. Choose your participation type
If the organizer set participant types, you will be prompted to choose one as soon as you enter your credentials. Depending on the event settings, the participation type will be shown only to the organizer, or it will be visible to other participants, too.

4. Tickets
At events that require ticket payment, in the next step, select one or more tickets if allowed.

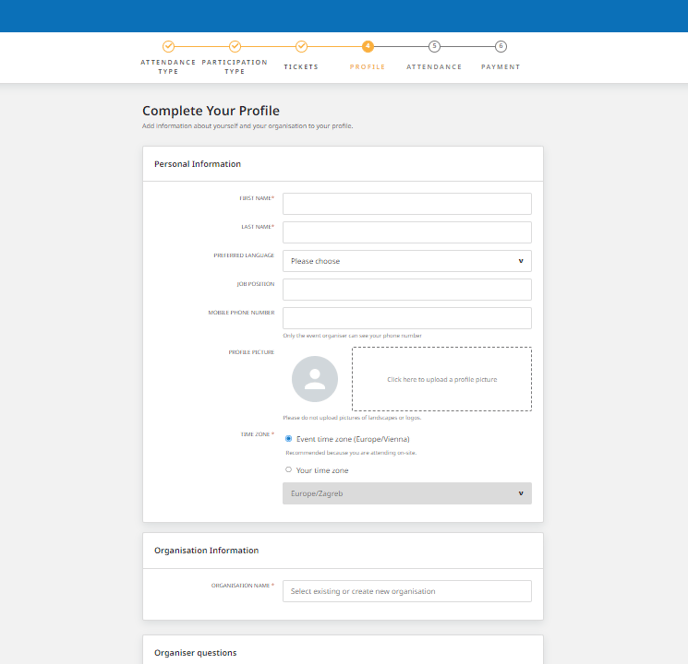
5. Fill in your profile information
Complete your profile by adding information about you and your organization. Some information could be mandatory, depending on the event settings decided by the event organizer: job position, phone number, organization name, organization type, organization description, address (at least city and country), areas of activity (at least one area) and any mandatory questions added by the organizers.
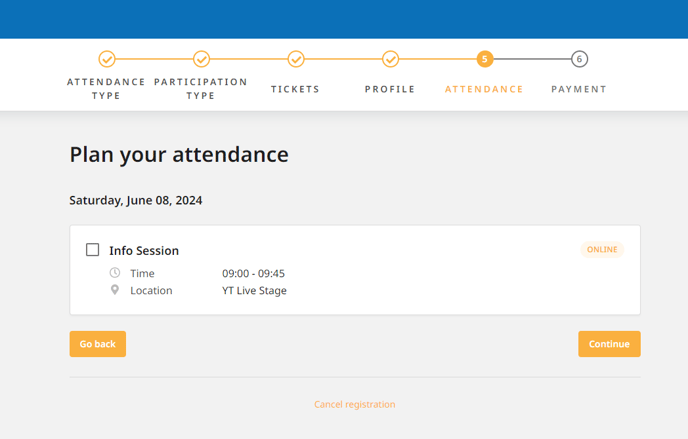
6. Plan your attendance
Plan your attendance by selecting the session you are interested in. According to the settings applied by the organisers, you will be able to select only one session in one particular time slot or several sessions in one time slot; some sessions having the same track can be mandatory or you are free to choose your sessions the way you like.
7. Complete payment
The last step in the registration process is the payment step, where you need to select your payment method, insert billing details and promotion code in case you have it.

Payment via invoice
If participants choose the bank transfer method, clicking "Finish Payment" will redirect them to the "Complete your payment" page.

With the bank transfer, participants can pay at a later stage. Learn more about this here.
Payment via Stripe
If participants are paying with a credit card, they need to enter their credit card number, CVC number, and expiration date. After doing so, they will be redirected to the confirmation screen.
Learn more about paying with a credit card here.
Completed registration form
After completing the registration form, you will be redirected to your participant's dashboard.
Depending on the settings applied by the organizers, you will have the Your profile is waiting to be activated message. If so, you will receive a notification by email as soon as you will be activated. Please note that you will not be able to send or receive meeting requests until your profile is activated by the event organizer.

If the event organizer did not choose the activation setting, you can start to book meetings immediately.
