Registration type: Private & Public
When organizing an event, the first decision to make is the registration type, which hinges on your event's nature. You need to choose between making it widely accessible to the public or keeping it exclusive to a select group.
How can I configure the registration type?
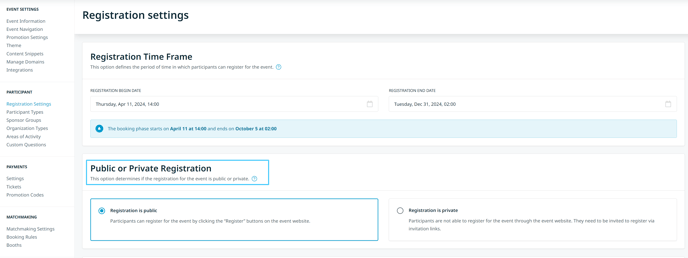
First, click on Configuration on the left sidebar of the Organizer's tool.
Then, from the Participant section, click on Registration settings. This will open the Registration settings page, where you can select either public or private registration.

Registration is public
Participants are able to register for the event through the Register buttons, accessible on the event website.

Tip: If you don't need the event to be exclusive and you aim to attract more people, choose public registration.
Registration is private
Participants are not able to register for the event through the event website, as the Register buttons won't be available on the website. They need to be invited to register via invitation links.
Inviting participants to register for the event when registration is private can be done as follows:
- Inviting participants via import
Participants can be imported from a previous event or by using an Excel document. The system creates a unique invitation link for every participant in the Communications - Outbox - Email to Import, which can only be used once.
- inviting participants via invitation links in participation types
Participants can be invited to the event through the invitation links which are automatically generated for every participation type.
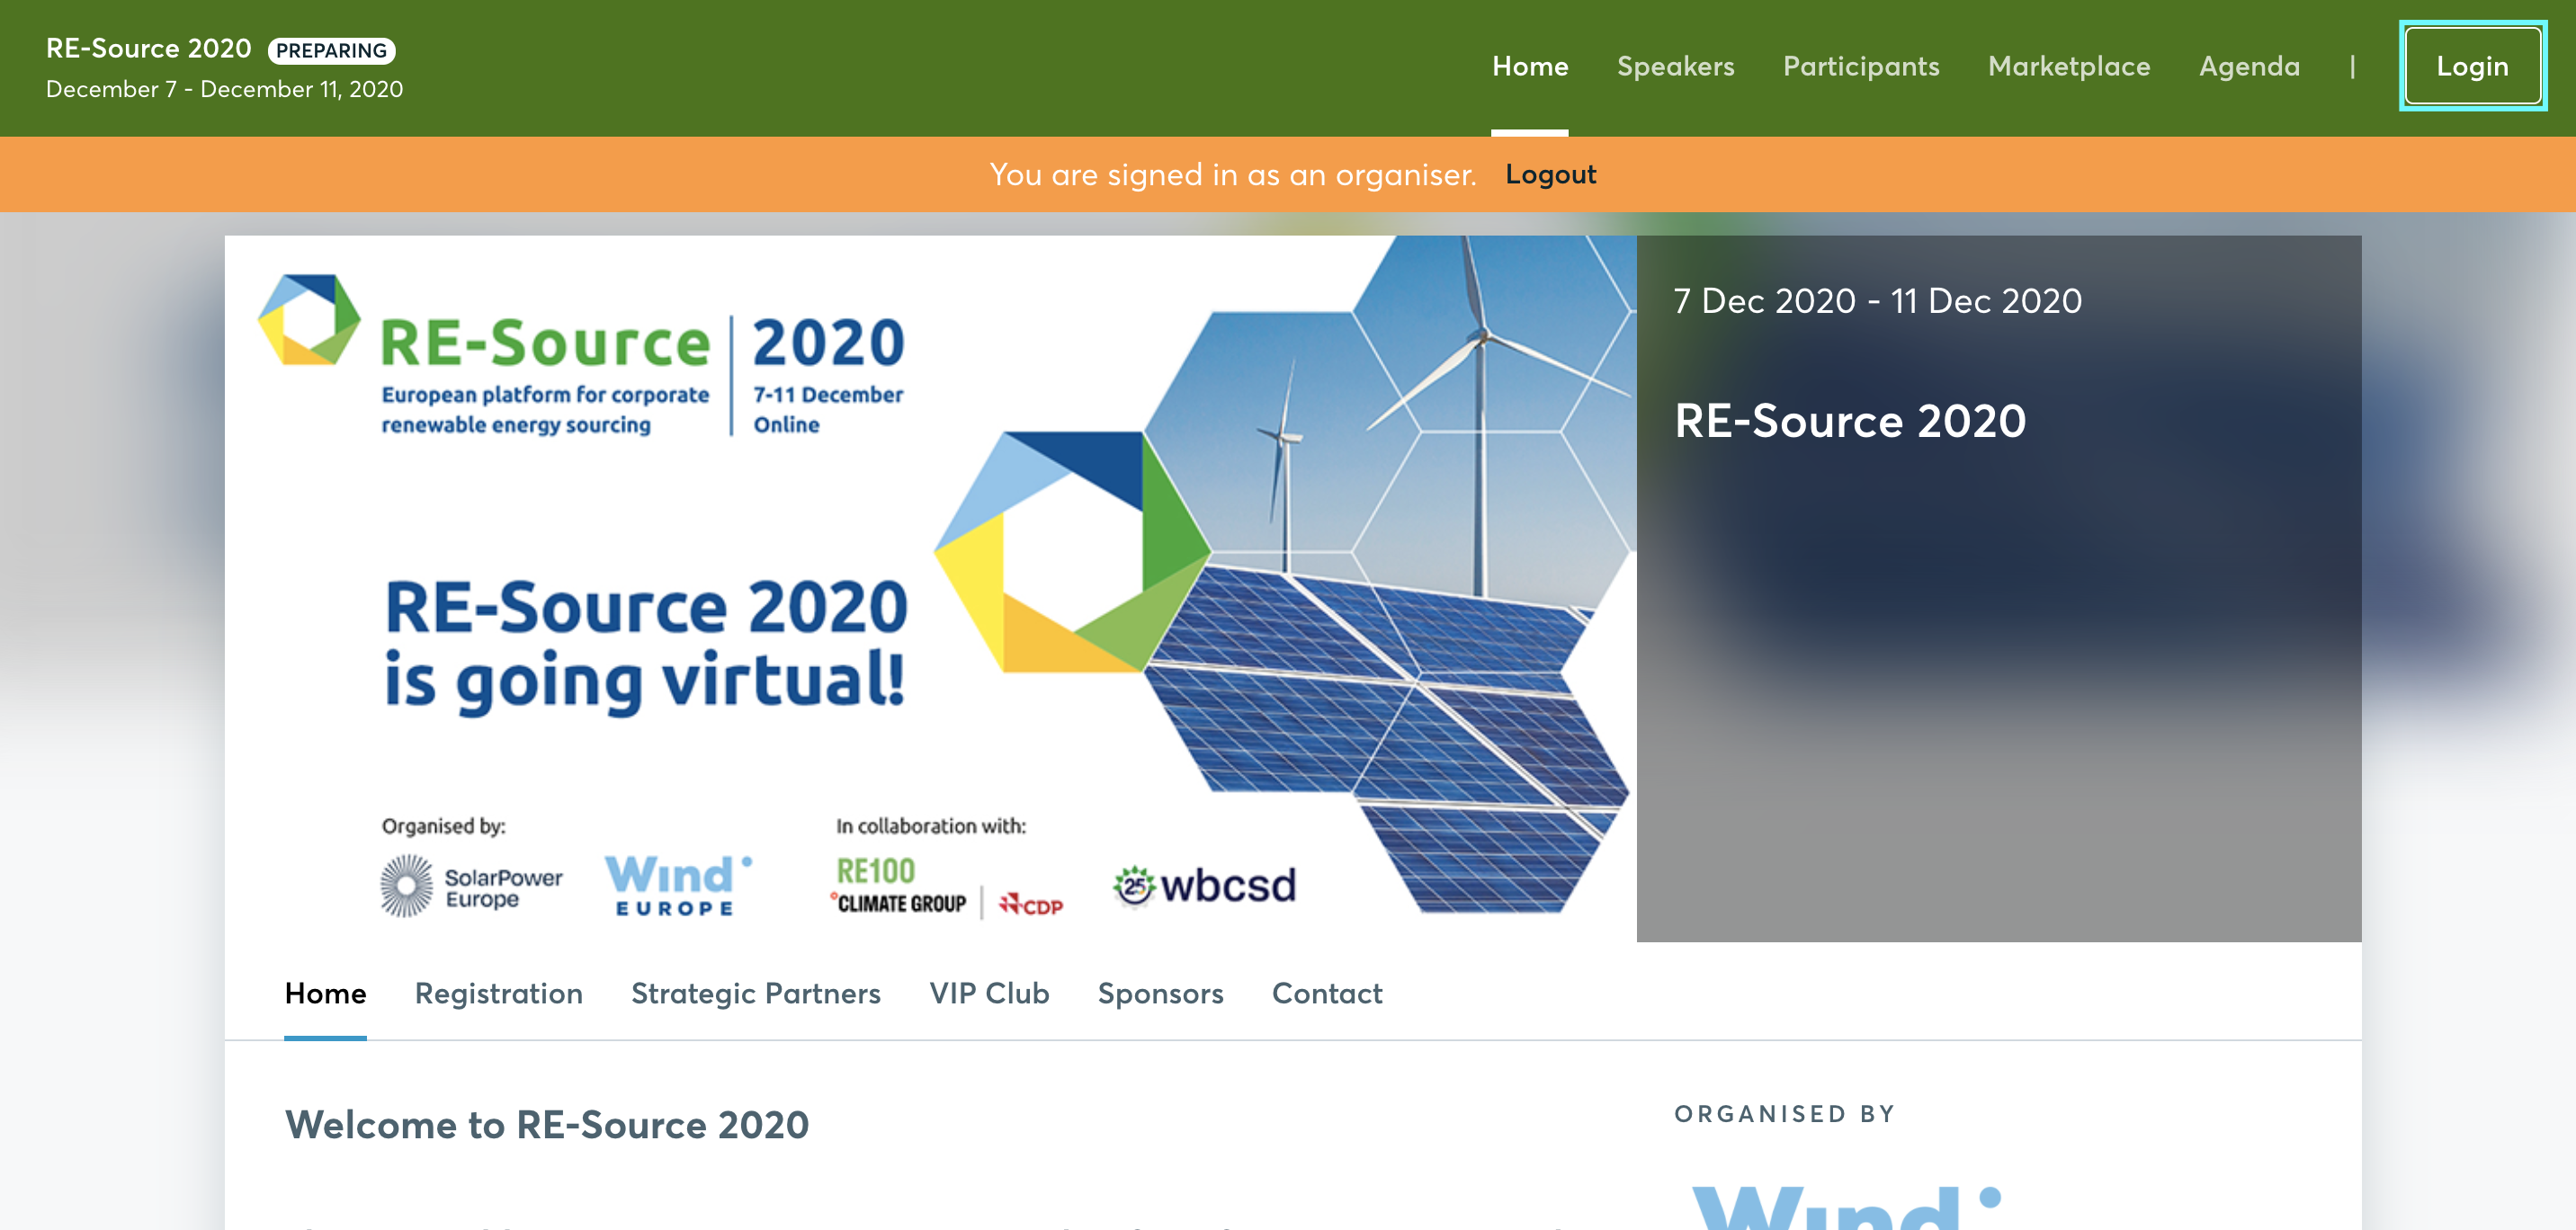
Once registered, the participants will be able to login through the Login button available on the website.
