As your event tickets go on sale, handling payments becomes a crucial part of the process. In some cases, you will need to manually create a payment in the platform.
How can I create payments?
Start by clicking on Ticketing on the left sidebar of the Organizer’s Tool.
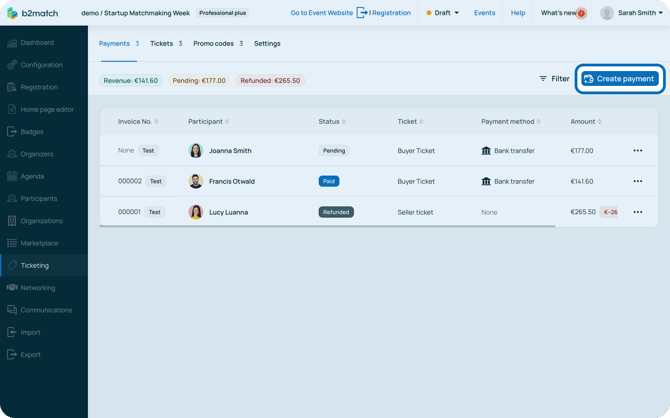
In the Payments tab, you can view all created payments and generate new ones.
To create a payment, click on the Create payment button.
This will open the New payment sidebar.
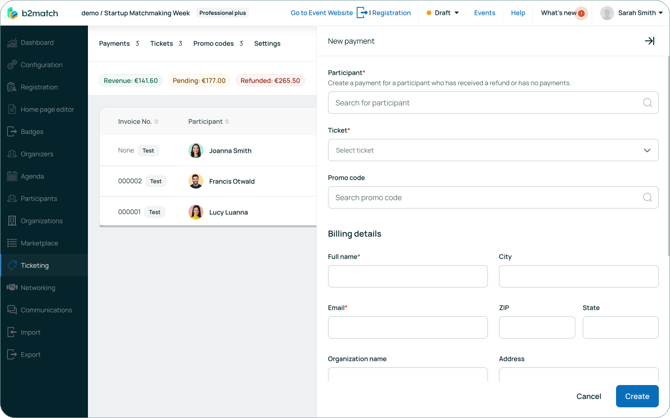
In the Participant field, enter the name of the participant who purchased the ticket.
From the Ticket drop-down menu, select the ticket.
If you select a ticket assigned to a different participant type than the attendee's current type, a drop-down will appear prompting you to change the attendee's participant type.
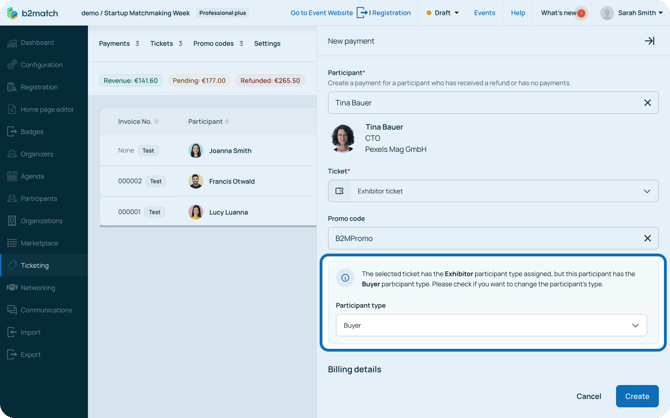
If the participant is eligible for a promo code, enter it in the Promo Code field. Learn how to create promo codes in our article Creating promo codes.
In the Billing details section, provide all necessary billing information for the participant, including their VAT ID.
In the Payment summary section, you will see a transparent breakdown of the item, any discounts, VAT, and the total amount the participant needs to pay.
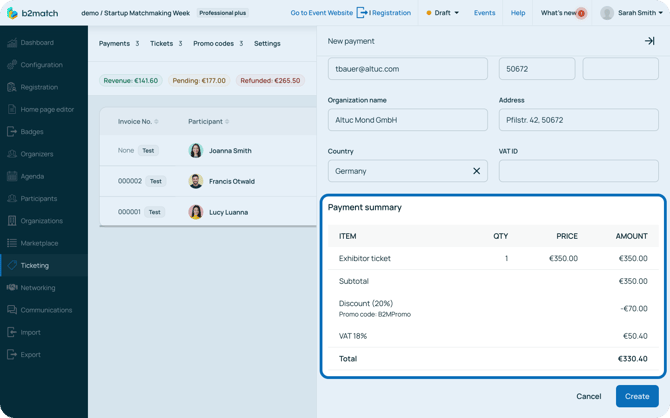
Once you have filled all the fields, click on Create.
After participants have paid for their tickets, you will need to manage payments.
If you didn't find an answer to your questions, please get in touch with the Support Team here.