Next to setting up your custom domain and connecting it to your b2match event, you can enhance your brand's visibility and representation by aligning your event's theme with your brand's colors. Alternatively, you may want to match the event's theme with its topic or simply customize it to your preferred color scheme.
How can I set up my event’s theme?
To change your event’s theme, first click on Configuration on the left sidebar of the Organizer’s Tool.
Then, from the Event settings section, access Branding.
This will open the Branding page.
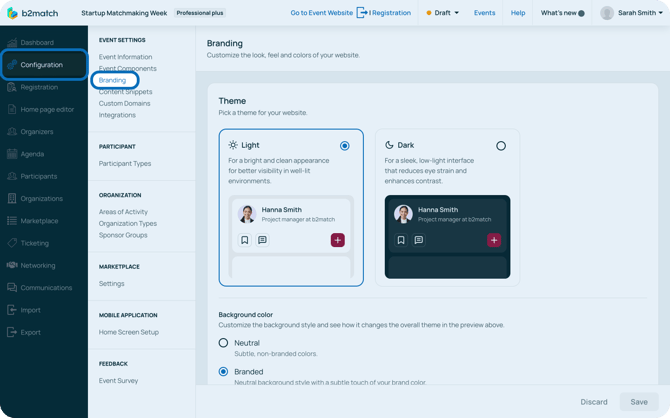
Theme
On the b2match platform, you have the option to choose between a dark and light theme for your event’s website, with light theme being the default.
To turn on dark theme, simply click on the Dark card.

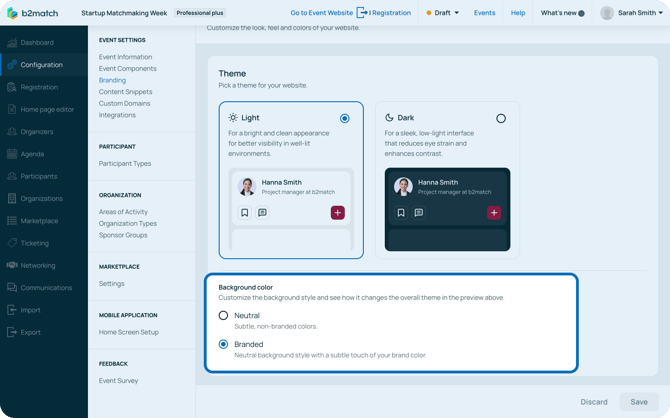
Next, you can customize the background color by choosing between Neutral and Branded.
Neutral color is a subtle, non-branded color, while the Branded color provides a neutral background with a subtle touch of your brand color.
Colors
In the Colors section, you can customize the brand, header, and footer color.
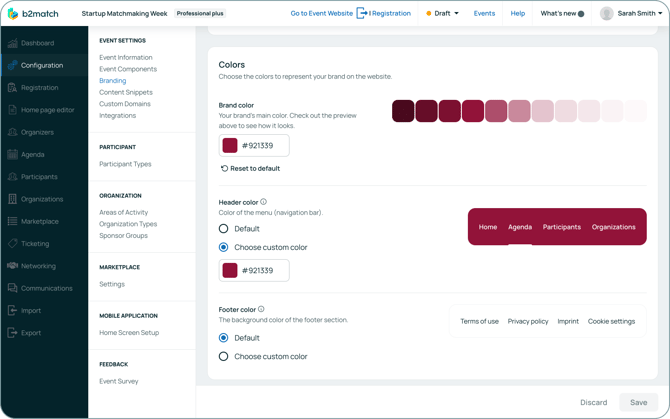
The Brand color sets the overall theme of your event website and ensures it reflects your brand. Based on this main color, a palette will be generated and applied to various elements of the event website, such as buttons and default profile avatars.
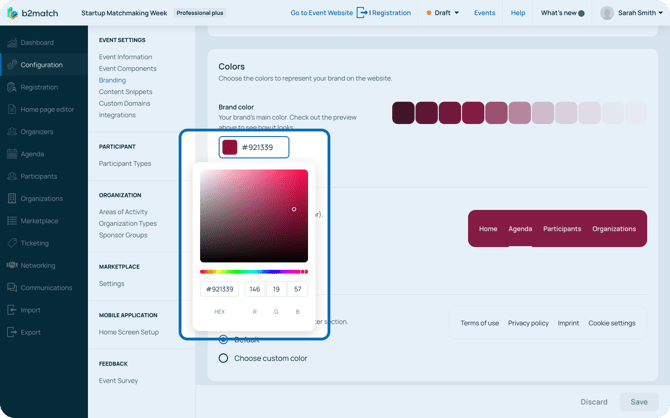
To select your brand color, click on the color field to open it up and manually select your color using the color picker, or input the HEX or RGB color code.
The Header color is the color of the navigation bar. Here, you can choose between the default white color with brand color splashes, or you can choose a custom color using the color picker. The color of the text automatically adjusts for better readability when a custom color is used.
The Footer color is the background color of the footer of the event website. Here, you can choose between the default color or choose a custom color.
Logo
To make your branding stand out, you can upload your logo to always be shown in the upper left corner of the event website.
Upload your logo by clicking on the Upload image button.
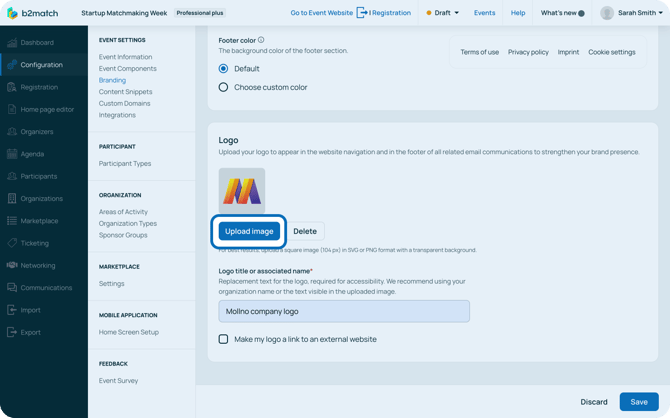
For the best results, upload a square image of 104px in svg or png format with a transparent background.
For accessibility reasons, enter the replacement text for the logo in the Logo title or associated name field.
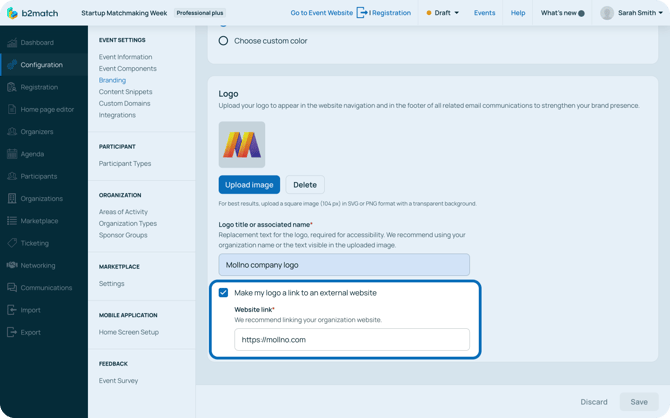
You can also configure your logo to redirect users to your external website. To do this, simply tick the Make my logo a link to an external website checkbox and enter the website link.
Note: Keep in mind that uploading your own logo is available with the Branding add-on, and is included in the Professional plus license.
After you’re done branding your event’s website, click on Save.
If you didn't find an answer to your questions, please get in touch with the Support Team here.