After understanding how the registration form builder works, and learning how to customize the registration form for your participants and organizations, you can now add additional event-specific fields that will collect the exact information you need. Custom fields allow you to create and configure these inquiries in various formats.
In this article, we will explain how to create and edit custom fields to best suit your needs.
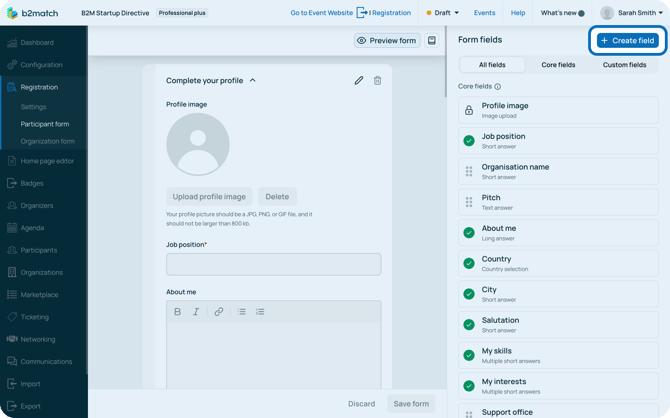
How can I create a custom field?
First, click on the Create field button in the upper right corner of the Form fields sidebar.
Enter the field name, choose the field type and click on the Create field button to create it.

After you have created the field, you can further edit it, configure its visibility and whether it’s required by participants, or you can leave it as is and configure it later.
Note: If you further edit the field after creating it, don’t forget to click on Save field to save your changes.
The newly created field will appear in the Form fields sidebar under Custom fields.
How can I edit a custom field?
To edit a custom field, simply find it in the All fields tab or Custom fields tab of the Form fields sidebar.
Once you have found the field you wish to edit, click on the pencil (Edit) icon. 
This will open the field allowing you to change the field name, description, visibility, required settings, and advanced settings if available.
How can I delete a custom field?
It's important to distinguish between removing a field from the form and deleting it from the system entirely.
To remove a field from your form, hover over the field in the Main content area and click the bin (Delete) icon.
This takes it off the form, but the field remains in your sidebar for future use.
To delete a field from the system completely, find the field in the Form Fields sidebar and click on the pencil (Edit) icon.
In the edit window, click the 3 dots (⋮) in the upper-right corner.
From here, select Delete field. This permanently removes the field from the system.
If you didn't find an answer to your questions, please get in touch with the Support Team here.